

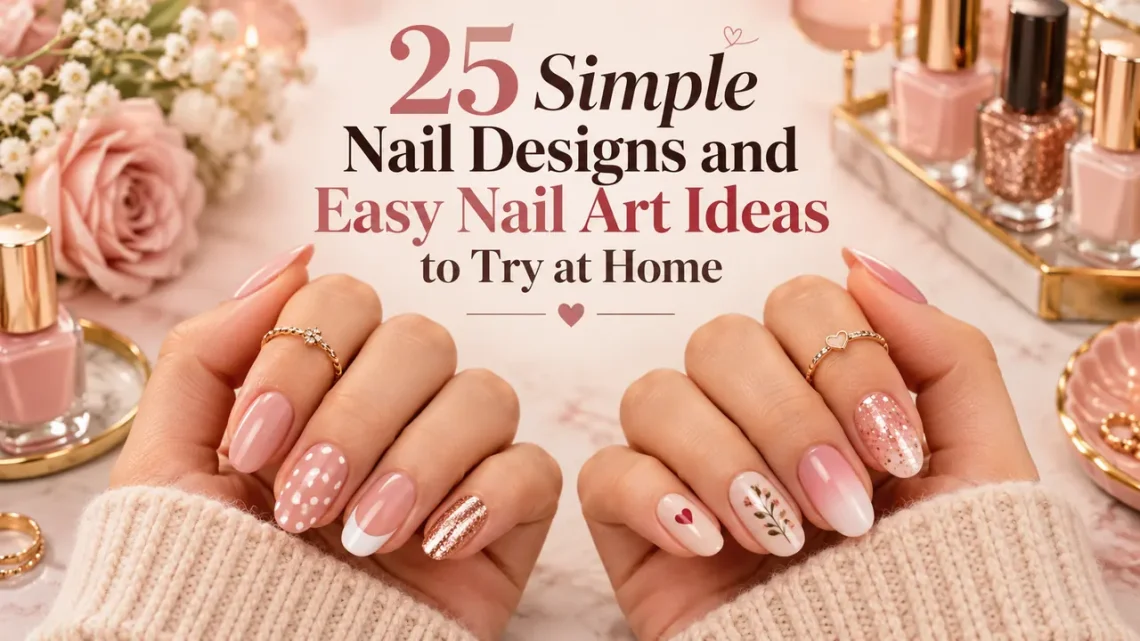
Simple nail designs can make an at-home manicure feel personal without requiring a drawer full of tools. A few dots, a sheer wash of color, or one decorated accent nail can be enough. The best starting point is a design you enjoy and can comfortably reproduce.
This list combines familiar favorites with milky finishes, fine French tips, jelly colors, and decorative accents. Most ideas suit regular polish; intricate effects have decal or press-on alternatives. Start with dots or tonal colors before attempting detailed patterns.
Prepare Your Nails and Tools
For simple nail designs, begin with a file, base coat, two or three compatible polishes, and a suitable topcoat. A dotting tool or fine nail-art brush expands your options, but stickers can replace detailed drawing.
Shape your nails, remove old polish, and follow product preparation instructions. Keep tools clean and avoid cutting your cuticles. These healthy nail-care practices matter more than copying a particular nail length. Let each layer dry as directed. Regular polish air-dries; gel requires its specified curing system. Products with similar-looking bottles are not necessarily interchangeable.
25 Simple Nail Designs to Try at Home
The simple nail designs below include beginner painting, techniques that need practice, and ready-made decorative options. Difficulty depends on your tools and chosen level of detail.
1. Polka Dot Nails
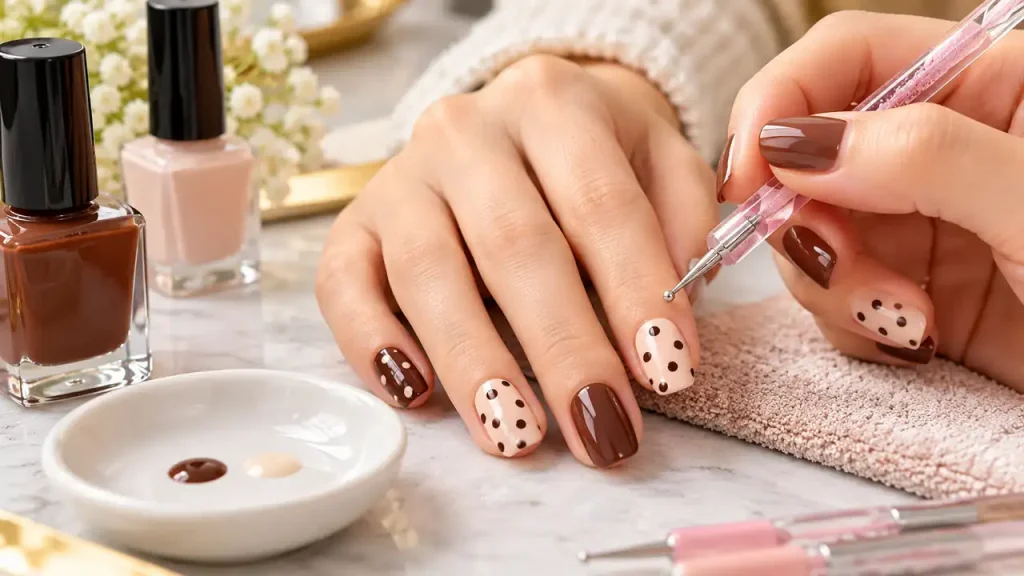
Beginner
Apply a base color, then add small dots using a dotting tool. Practice on a spare surface first to control size. Try cream dots on chocolate brown or black dots on a sheer base. Leave space between dots for a restrained look, or place them closer together for a bolder pattern.
2. Sticker and Decal Accents
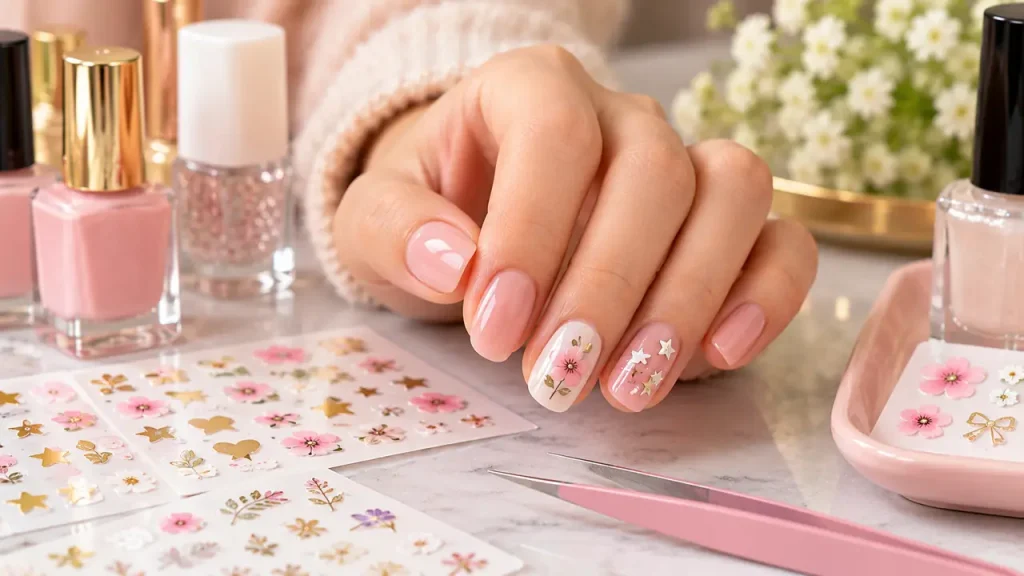
Beginner with product instructions
Place a small sticker on one or two nails instead of drawing a detailed motif. Flowers, stars, and fine lines offer plenty of variety. Peel-and-stick stickers and water-transfer decals work differently. Follow the specific application directions, including whether a protective topcoat is recommended.
3. Micro French Tips
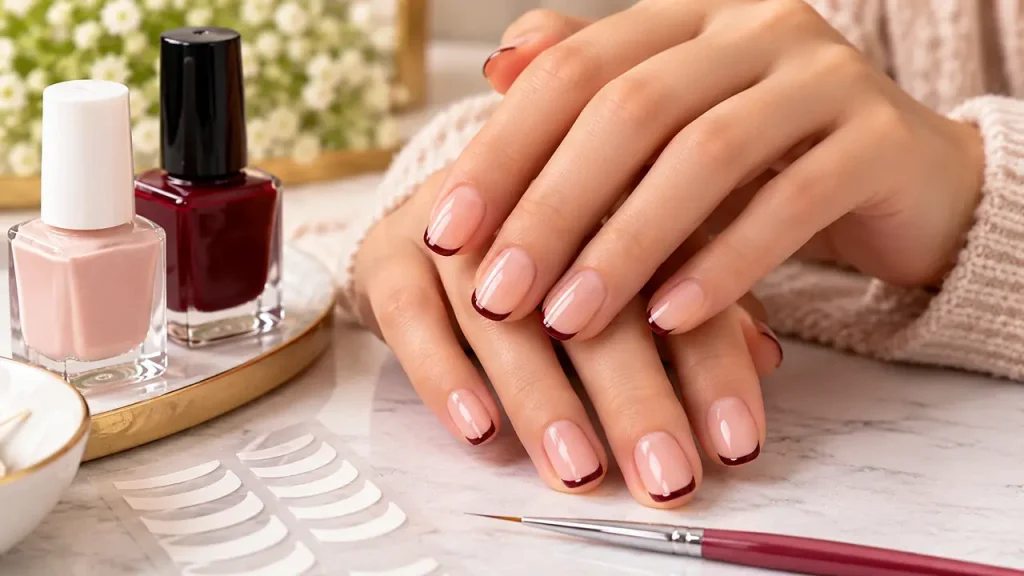
Practice needed
Paint a very thin contrasting line along the free edge over a sheer or neutral base. A fine brush can help you keep the line controlled. Try burgundy, soft white, or navy. If matching both hands feels difficult, use suitable tip guides or finished French press-ons.
4. Sheer Milky Nails
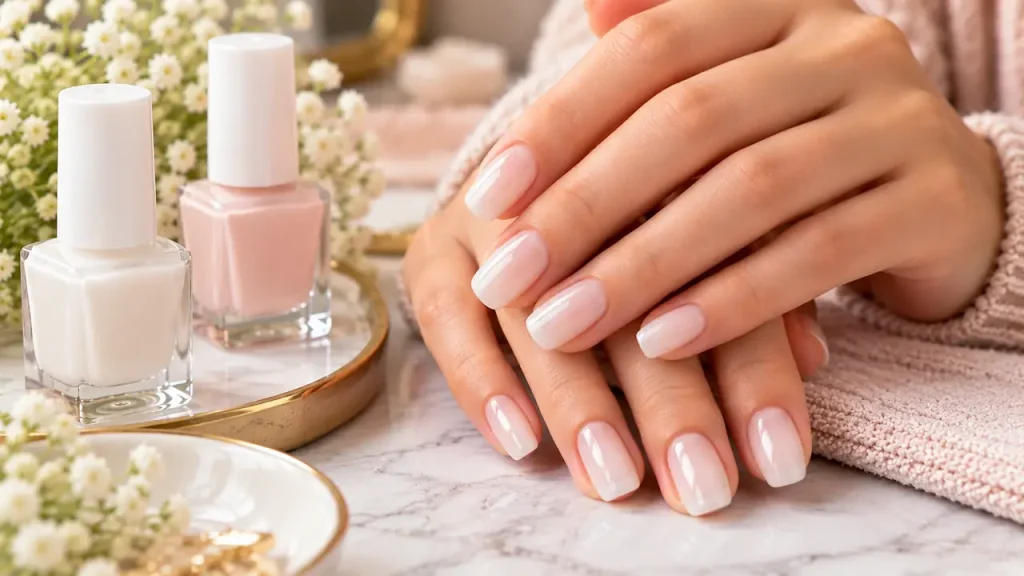
Beginner
Choose a translucent milky white or pink rather than an opaque correction-fluid finish. Apply thin layers until you reach the coverage you like. Choose a sheer white or pink that complements your preferred finish. Keep the coverage soft, adding another thin coat only if you want greater opacity.
5. Negative-Space Geometric Nails
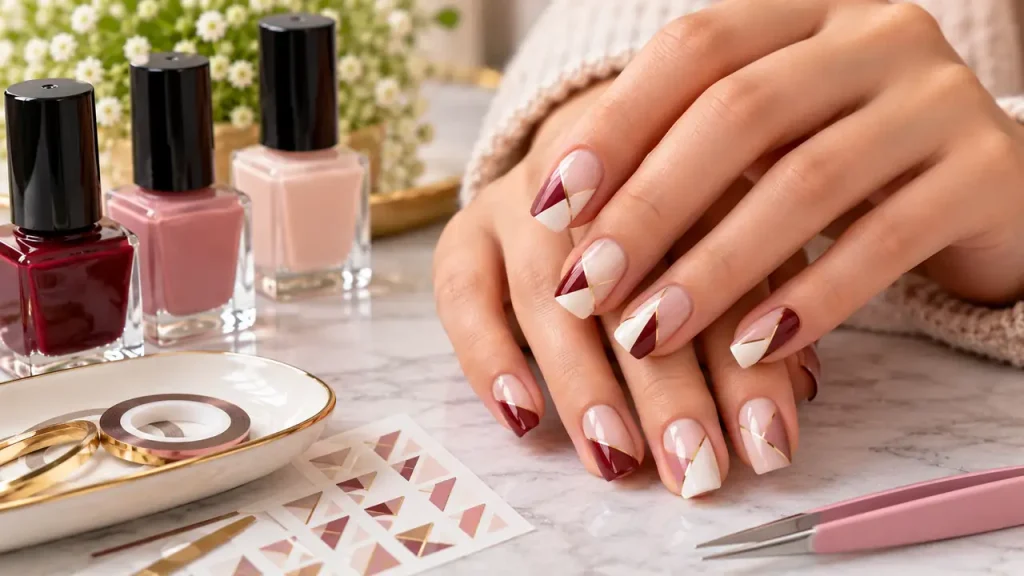
Practice needed
Leave part of the nail visible and paint a triangle, diagonal section, or narrow block of color elsewhere. Limit the design to two colors at first. If using tape or guides, check that the underlying polish is sufficiently dry and follow the tool’s removal instructions.
6. Neutral Swirl Nails
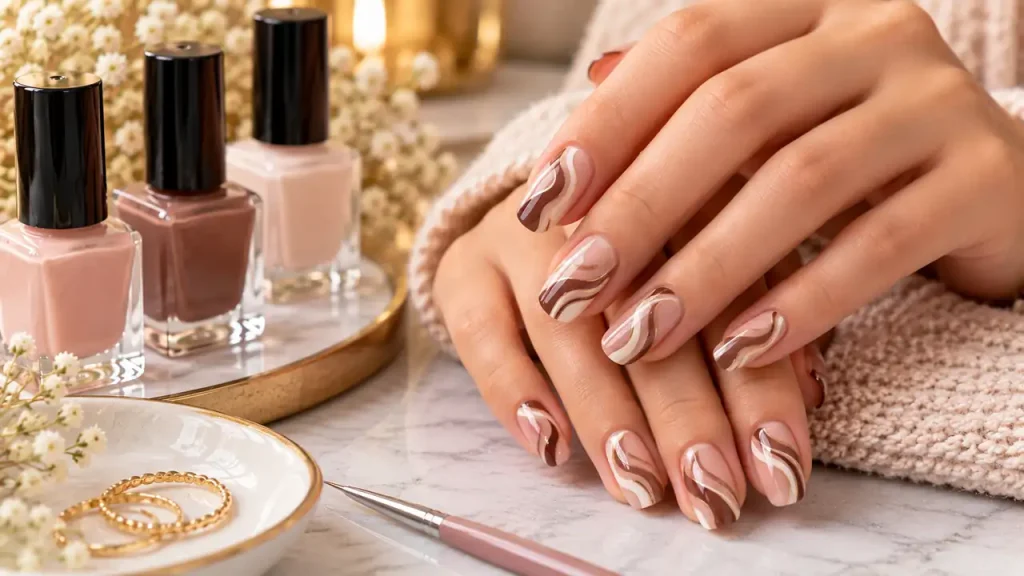
Practice needed
Draw one flowing line over a neutral base using a fine brush. Keep the line loose rather than trying to make every nail identical. Cream, caramel, and brown work together well. Swirls are curved line art; they do not require the water-marbling technique.
7. Botanical Accent Nails
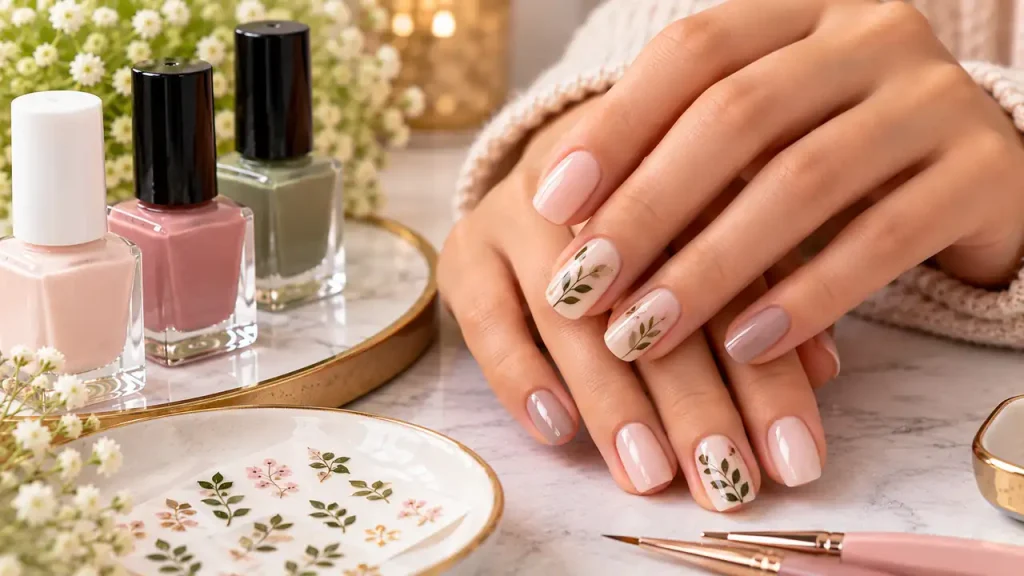
Decal option
A tiny leaf or stem can decorate a single nail without covering the whole manicure. Start with a plain background so the detail remains visible. Choose botanical decals for convenience or practice a simple stem with two leaves. Large, layered foliage needs more brush control.
8. Tonal Mix-and-Match Nails
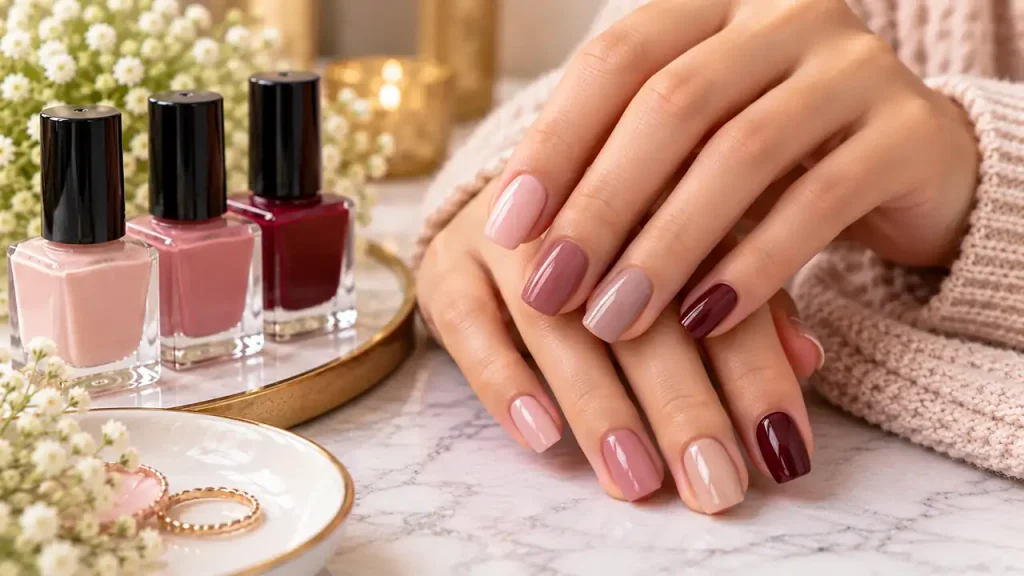
Beginner
Paint each nail a different shade from one color family. Three coordinating polishes are enough; repeat shades where needed. Try blush, rose, and berry or beige, caramel, and chocolate. This gives a coordinated result without requiring artwork or a different product for every finger.
9. Glazed Chrome-Effect Nails
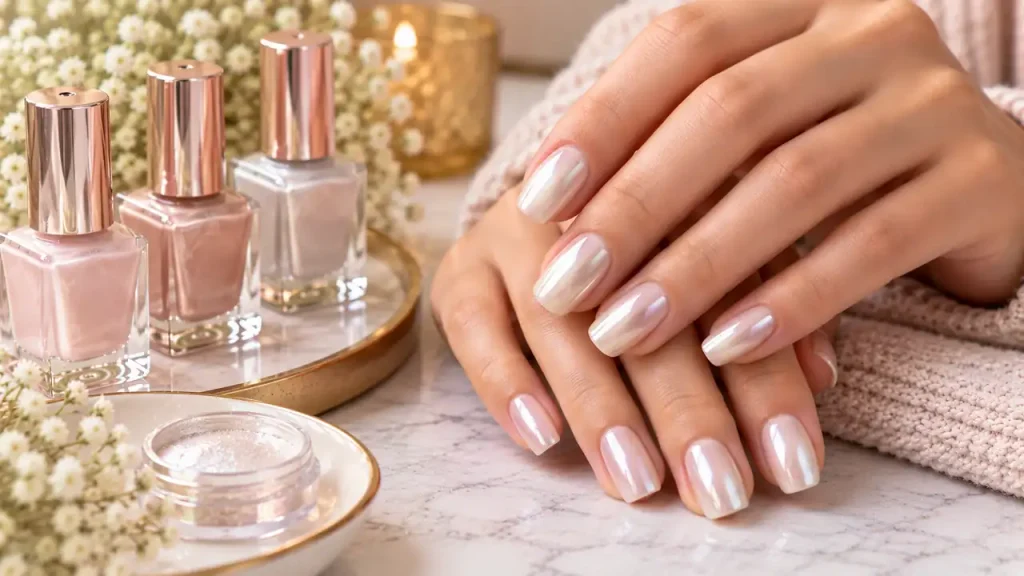
Product-dependent
A translucent shimmer or chrome-effect topcoat can give ordinary polish a reflective finish. Use a product designed for that application. This is a beginner alternative to a powder-based chrome service, not an identical technique. Follow the system’s instructions instead of rubbing loose powder into regular polish.
10. Minimalist Half-Moon Nails
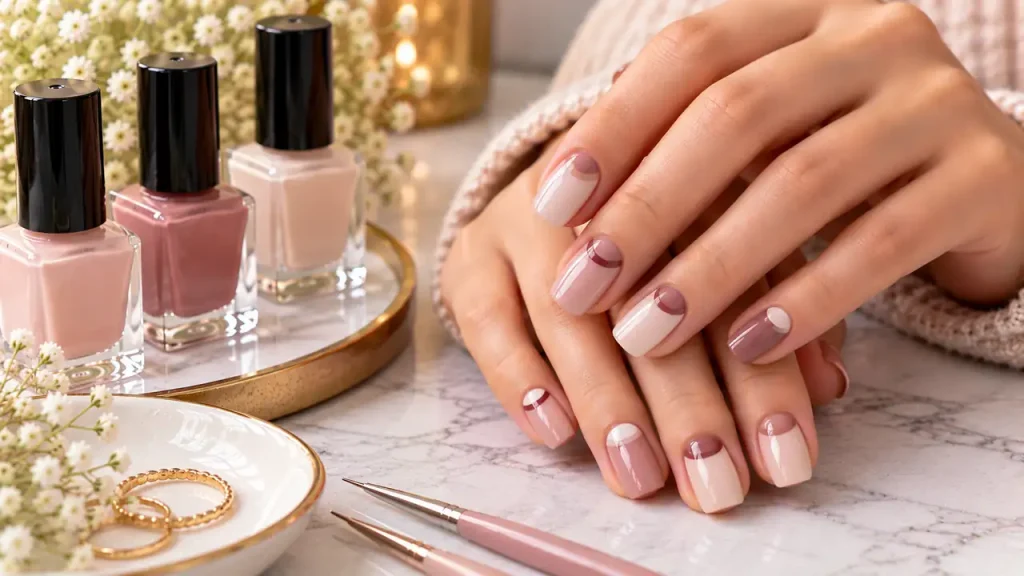
Practice needed
Create a small curved section near the nail base using a contrasting color or leave that area clear. A guide can help define the curve. Keep polish off the surrounding skin, and avoid making the shape so large that it overwhelms a shorter nail.
11. Tiny Heart Accent Nails
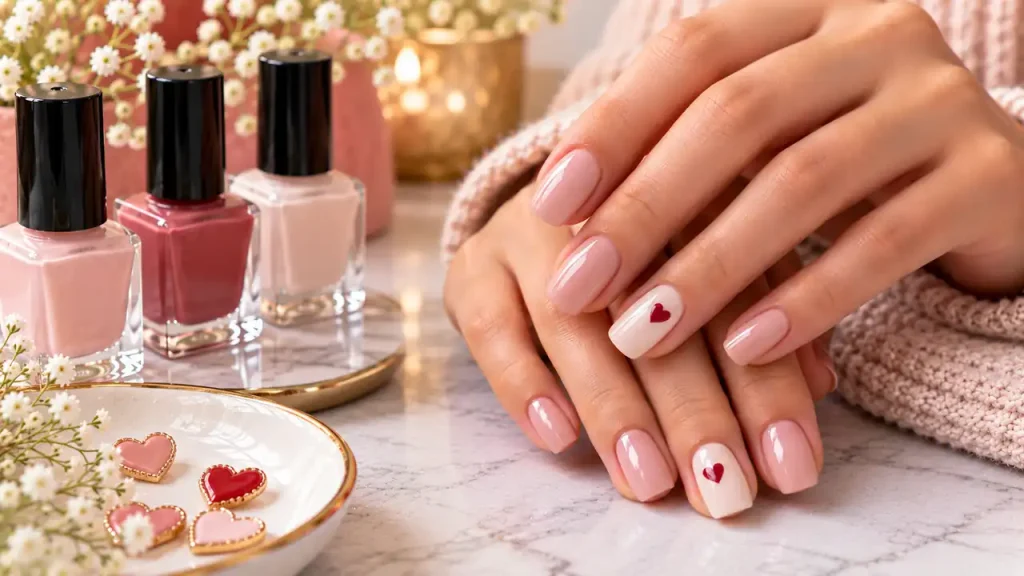
Beginner with decals
Place one small heart on an accent nail, leaving the remaining nails plain. Red over blush is classic, but white or metallic hearts work too. Use a decal if drawing feels awkward. This design suits any occasion when you want a playful detail, not only Valentine’s Day.
12. Jelly Color-Wash Nails
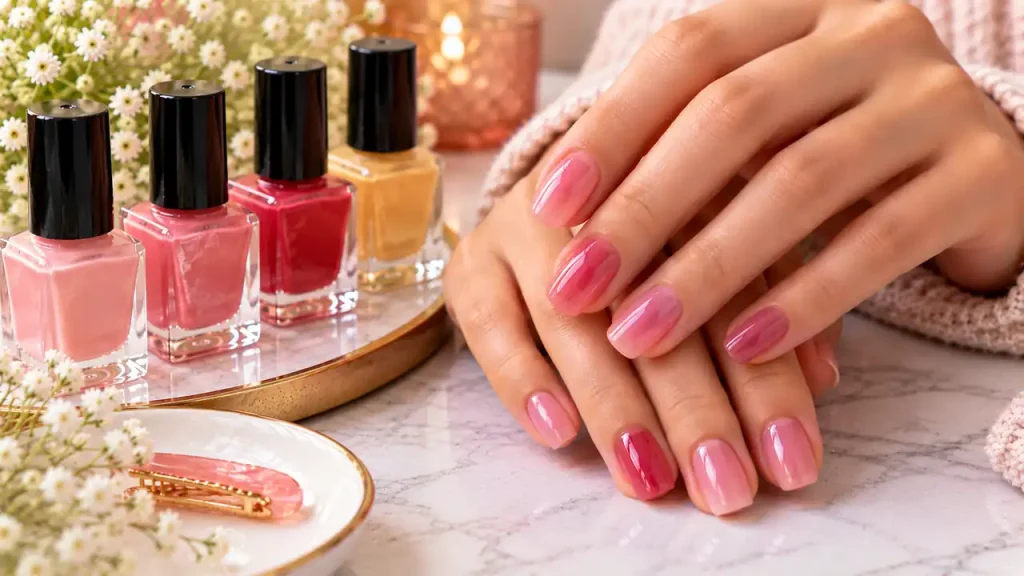
Beginner
Use a translucent colored polish for a glossy, see-through finish. Apply additional thin coats only if you want greater depth. Pink, cherry, amber, and sheer yellow create different moods. Choose a formulated jelly polish rather than mixing products whose compatibility you have not checked.
13. Tiny Bow Accent Nails
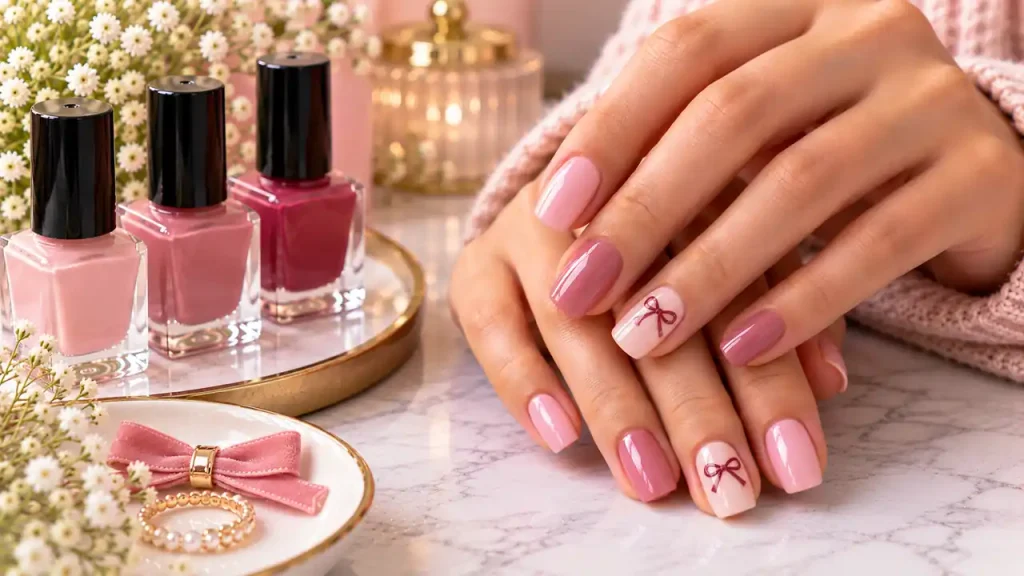
Decal option
Add one flat bow decal over a simple base. A small design is easier to position than a large raised decoration. Try a dark bow over pale pink or a white bow over berry. Let the motif provide the detail instead of adding gems and glitter everywhere.
14. Single-Gem Accents
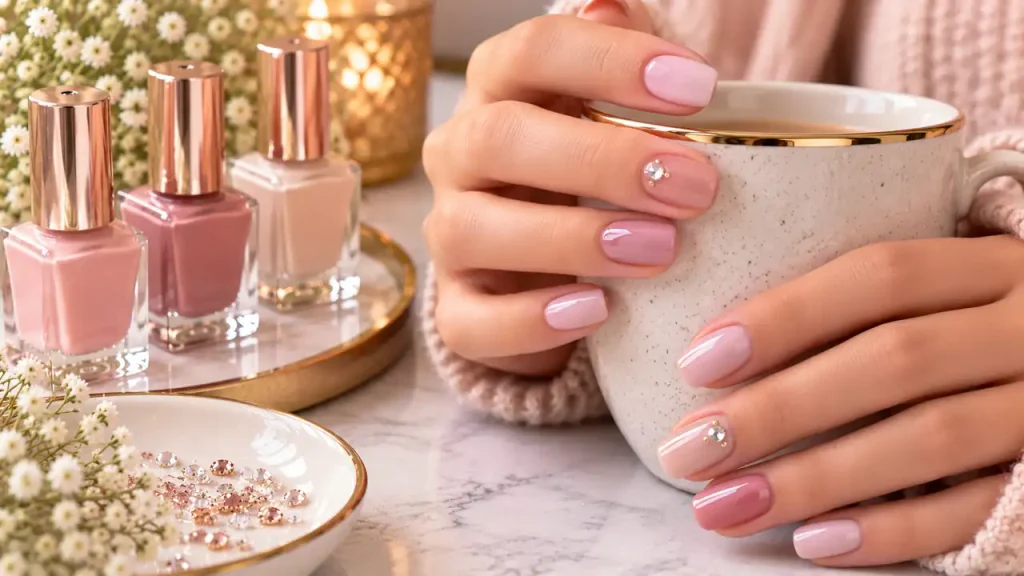
Careful application needed
Place one small nail gem on an accent nail using a product intended for nail decoration. Follow its attachment and removal instructions. Start with a low-profile piece that suits everyday use. Raised embellishments can catch, so consider your work and activities before decorating every nail.
15. Dot-Flower Nails
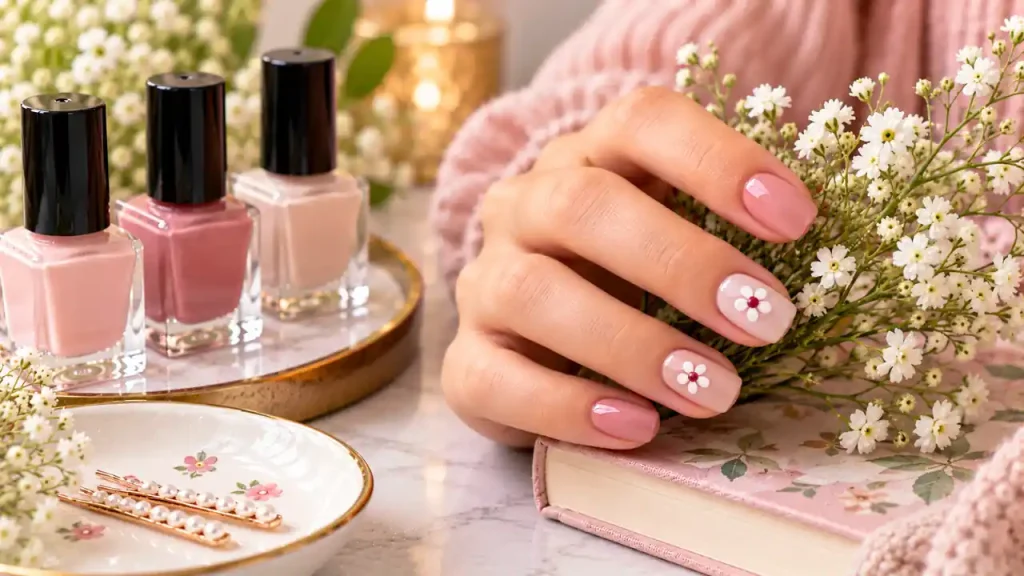
Beginner
Arrange several small dots around a central dot to create a flower. One blossom per accent nail is enough for your first attempt. Use a contrasting center so the shape reads clearly. Practice dot placement before painting detailed flowers with stems, shading, and layered petals.
16. Simple Holiday Accent Nails
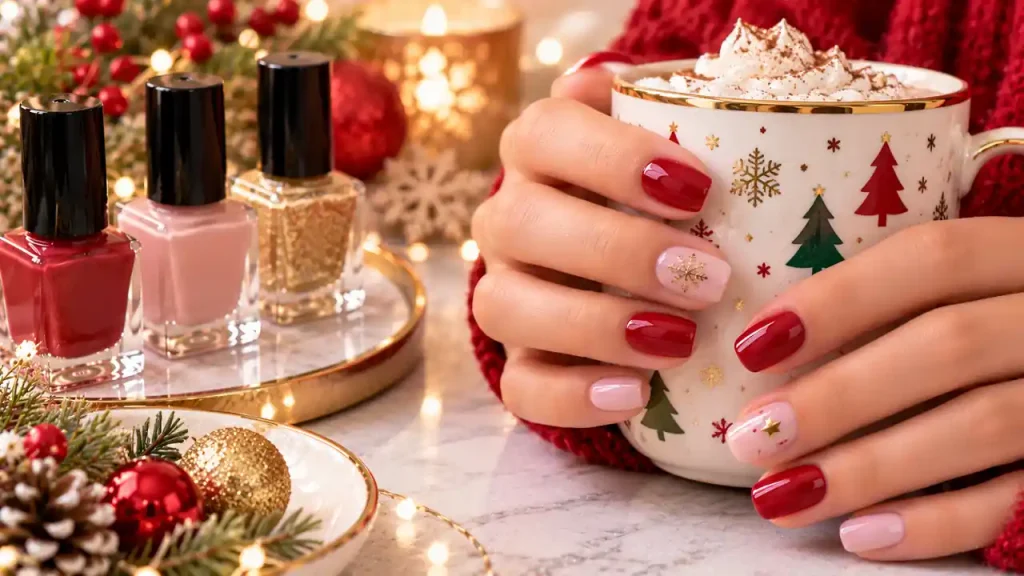
Beginner with decals
Choose a seasonal palette and add one small motif, such as a star or snowflake. Detailed scenes are optional. For winter celebrations, Christmas nail ideas offer additional themes. Adapt the complexity to your skills rather than treating every festive design as beginner-friendly.
17. Velvet Cat-Eye Press-Ons
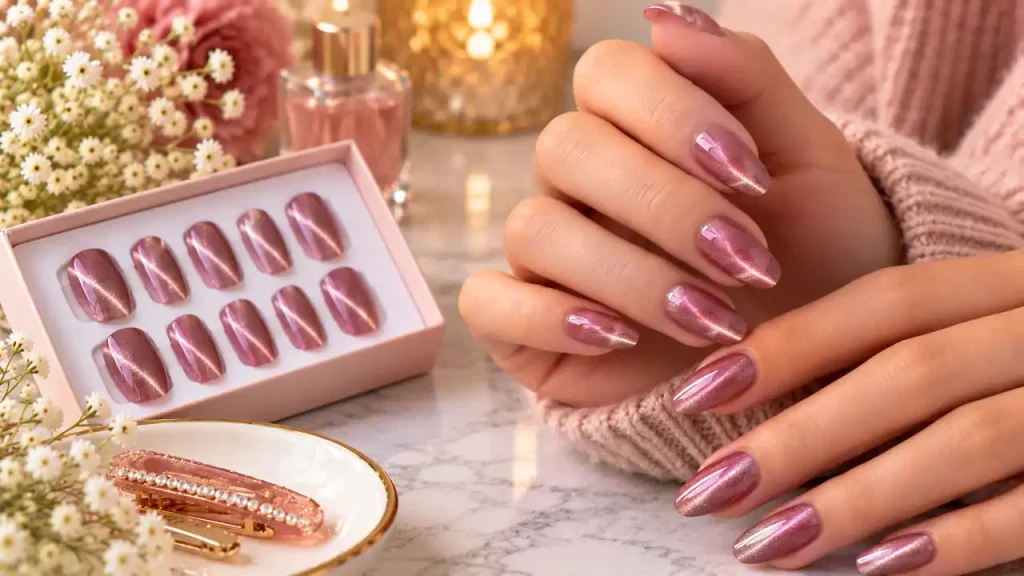
Ready-made option
Finished velvet-effect press-ons offer a dimensional look without learning magnetic polish application. Choose the correct sizes before applying them. Follow the adhesive and removal directions supplied with the set. Creating the effect yourself with magnetic polish is a separate technique that requires suitable products and practice.
18. Leopard-Print Accents
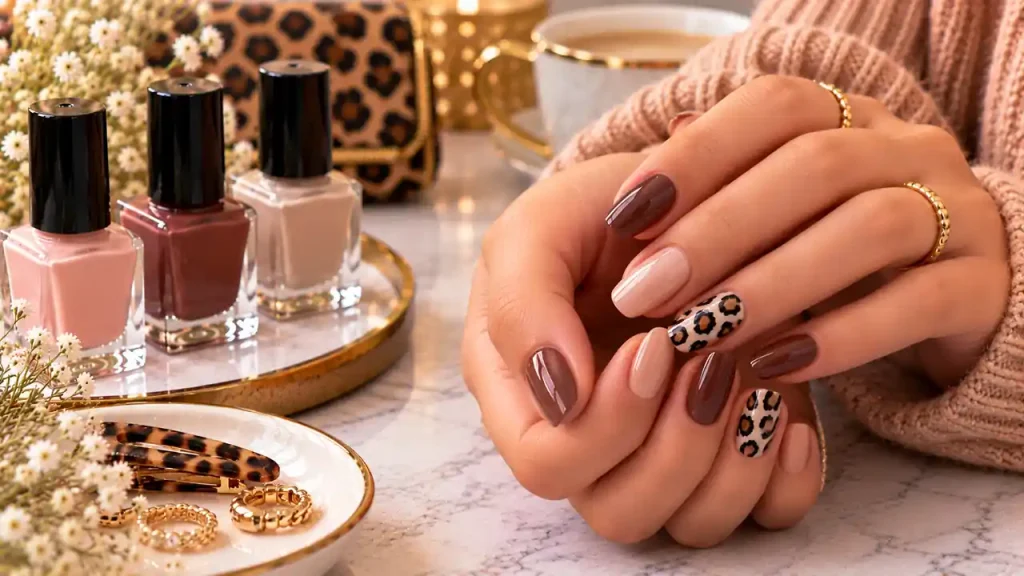
Practice needed
Paint a few irregular spots, then add broken outlines around them. The shapes should vary rather than look perfectly circular. Try the pattern on one nail first. A neutral palette keeps it understated; decals provide an easier option when painting the outlines becomes frustrating.
19. Abstract Brush Strokes
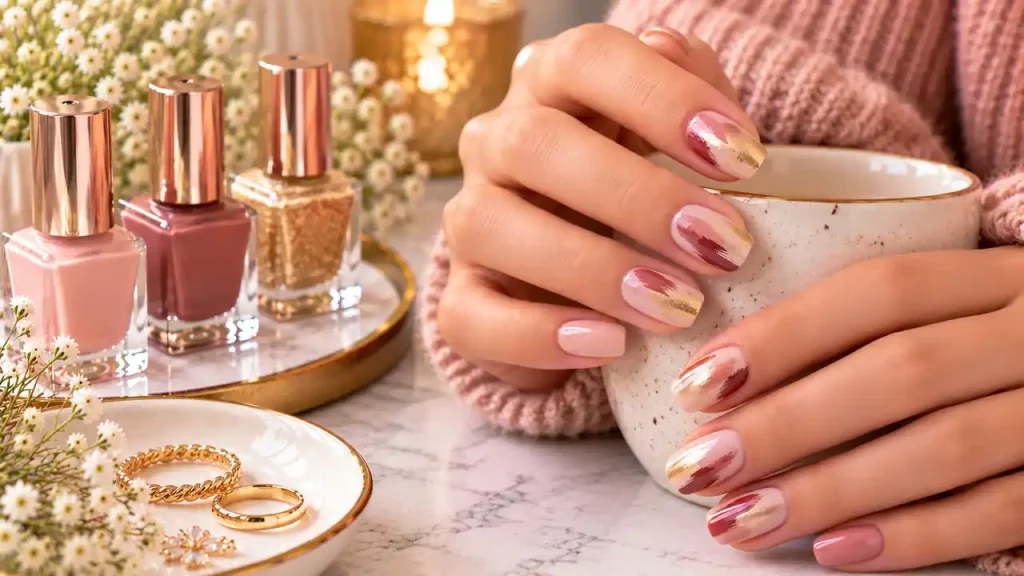
Beginner
Remove most polish from a brush, then make a few light strokes over a dry base. Leave space between marks. Two contrasting shades can create enough interest. Because the strokes are intentionally irregular, this is a forgiving way to experiment without drawing recognizable objects.
20. Metallic Accent Nails
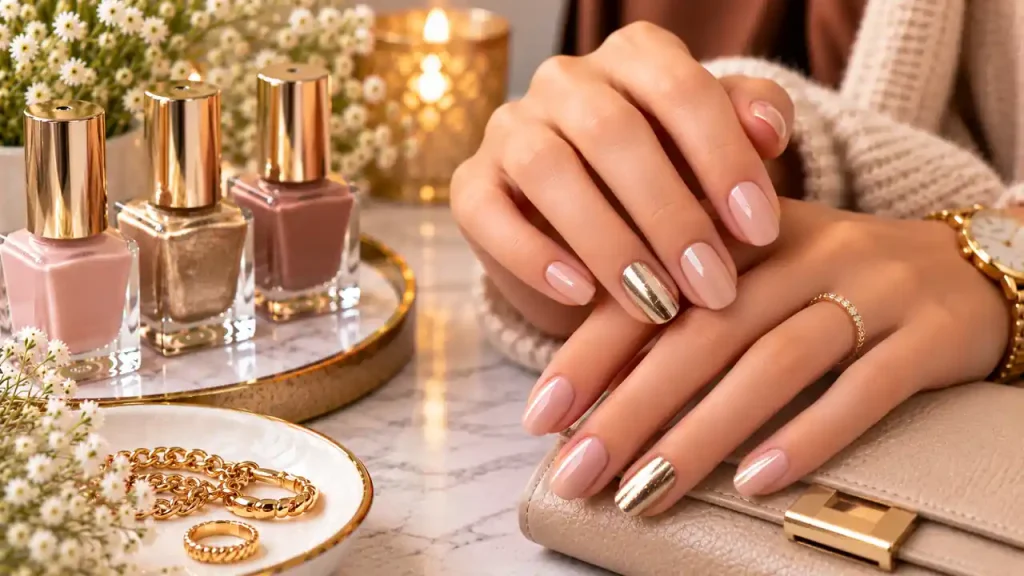
Beginner
Paint one or two nails in opaque silver, gold, or bronze, keeping the others plain. This differs from the translucent glazed finish above. Repeat a metal tone from your accessories if you enjoy coordination. It can provide a finishing detail alongside classic outfits without requiring a fully matching manicure.
21. Soft Sponge Ombré
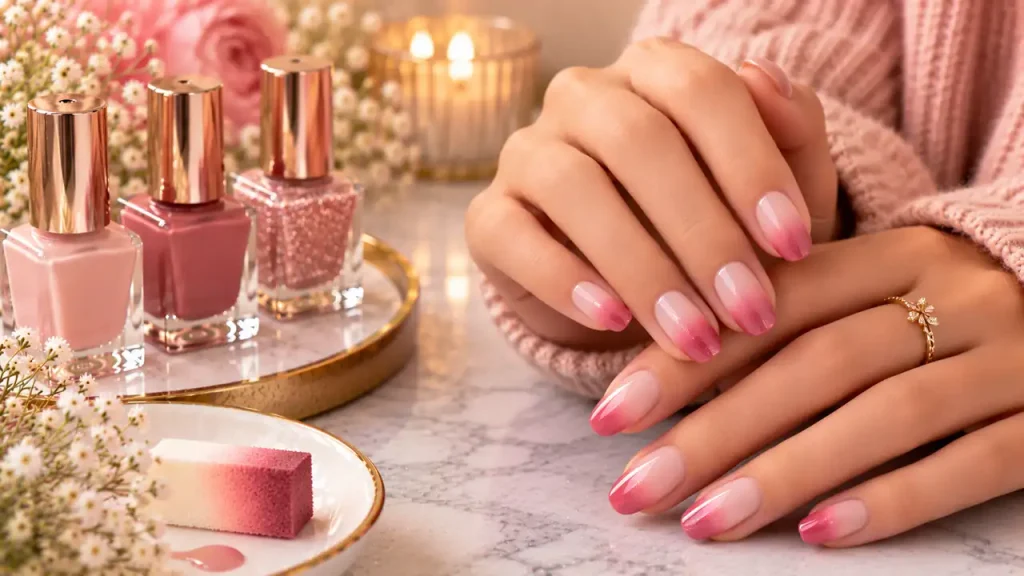
Practice needed
Paint two adjacent stripes on a small makeup sponge, then gently dab onto a dry base. Build the blend with light passes. Clean up around the nail afterward. A pink-to-rose transition is more forgiving than a dramatic light-to-dark gradient.
22. Lace Accent Decals
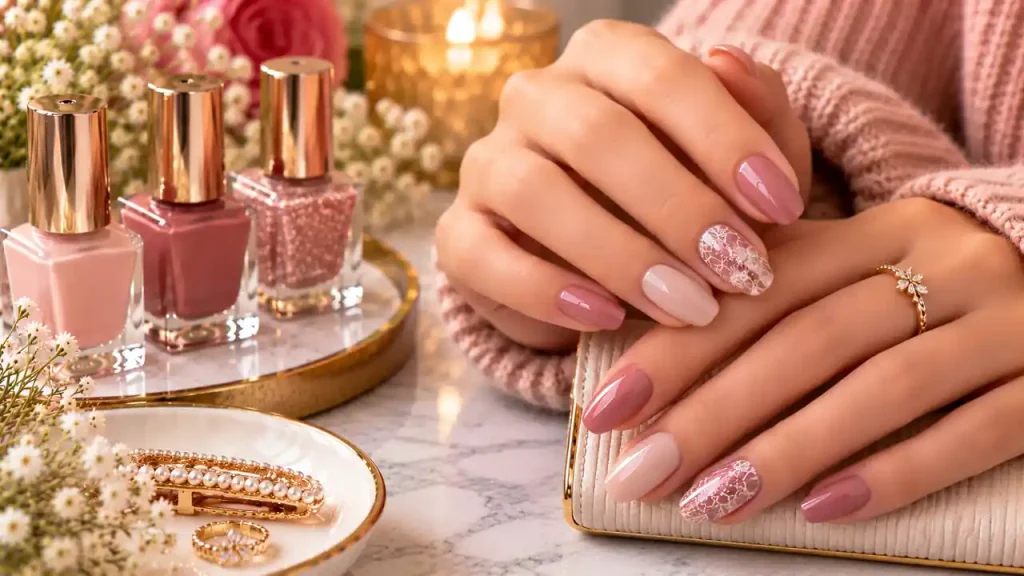
Decal option
Fine lace looks intricate, so use a decal instead of attempting every tiny line freehand. Apply it over a contrasting base. One lace-covered accent nail can be enough. Follow the decal’s instructions carefully, particularly around edges, to avoid wrinkles or an uneven finish.
23. Glitter Gradient Nails
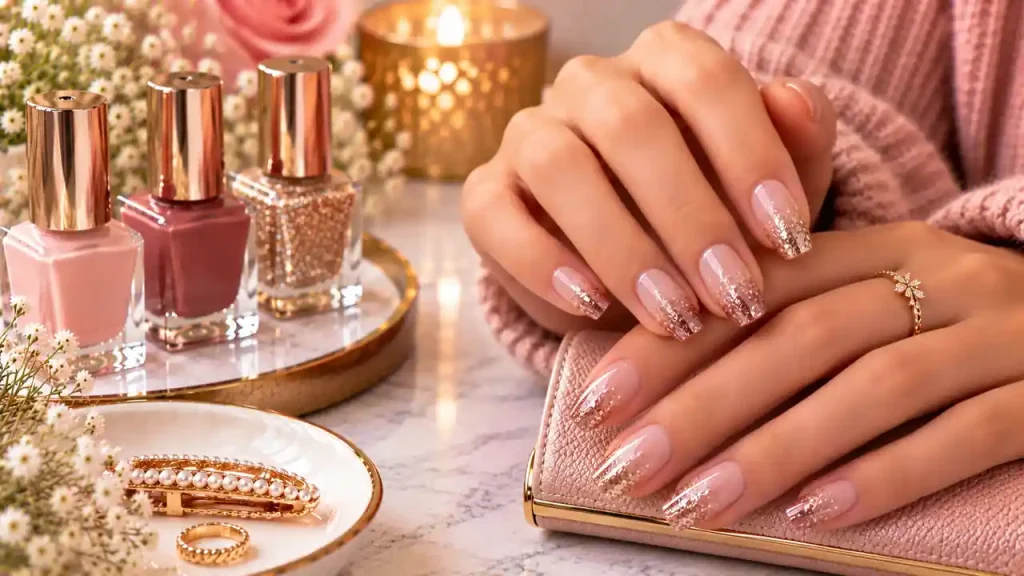
Beginner
Concentrate glitter near the tip and apply less toward the center. This gives the manicure a focal point without full glitter coverage. Choose a glitter polish suitable for nails and layer lightly. Keep the base color simple so you can see the graduated effect.
24. Blush Mix-and-Match Nails
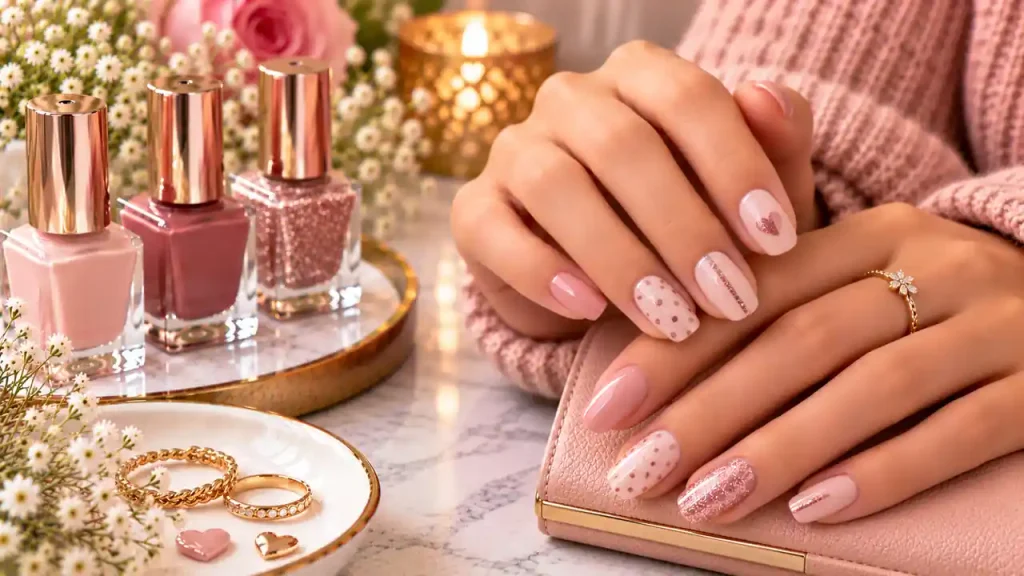
Beginner
Combine a blush base with a tiny heart, a few dots, or one narrow stripe across different nails. Repeat the same accent color throughout. Unlike the tonal manicure, this look varies the decoration rather than changing every nail’s base shade.
25. Tortoiseshell Accent Nails
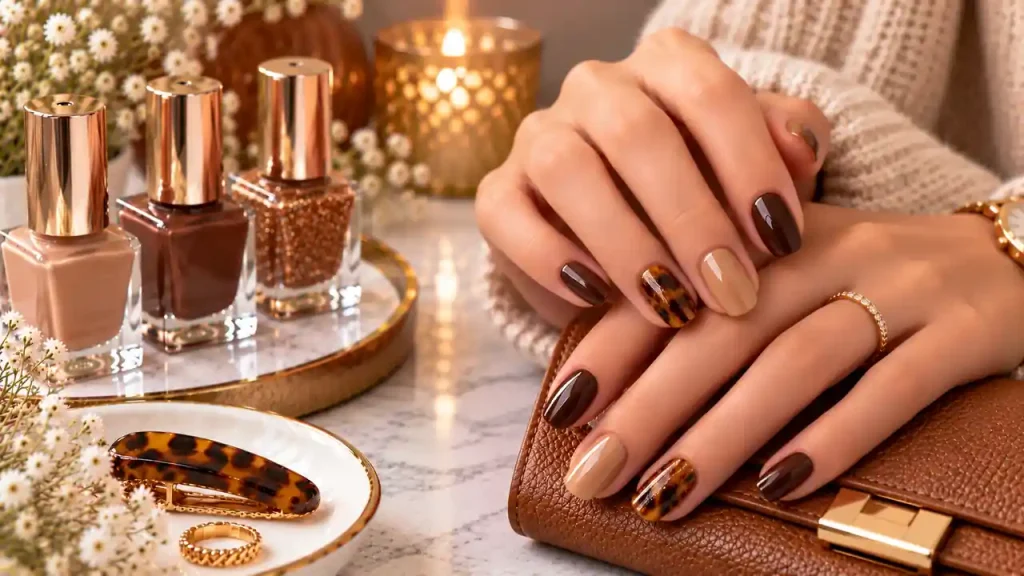
Decal option
Use a tortoiseshell-pattern decal or finished press-on for amber-and-brown depth without building translucent layers yourself. Pair one patterned nail with plain brown or caramel nails. Hand-painted tortoiseshell takes practice, so it should not be presented as an effortless first manicure.
Make Simple Nail Designs Easier to Finish
Decorate your nondominant hand first, keep tools within reach, and allow enough drying time. Test unfamiliar techniques before starting all ten nails. Remove and reapply a troublesome detail rather than repeatedly adding thick layers. Follow removal instructions for polish, gems, and press-ons; avoid picking or pulling them off.
Final Thoughts
Simple nail designs give you room to experiment without needing professional-level drawing skills. Start with dots, tonal colors, or a small decal, then try fine lines and gradients as your control improves. Choose finishes that suit your routine, follow product instructions, and let an enjoyable manicure matter more than copying every trend.



I am extremely impressed with your writing skills as well as with the layout on your blog.