

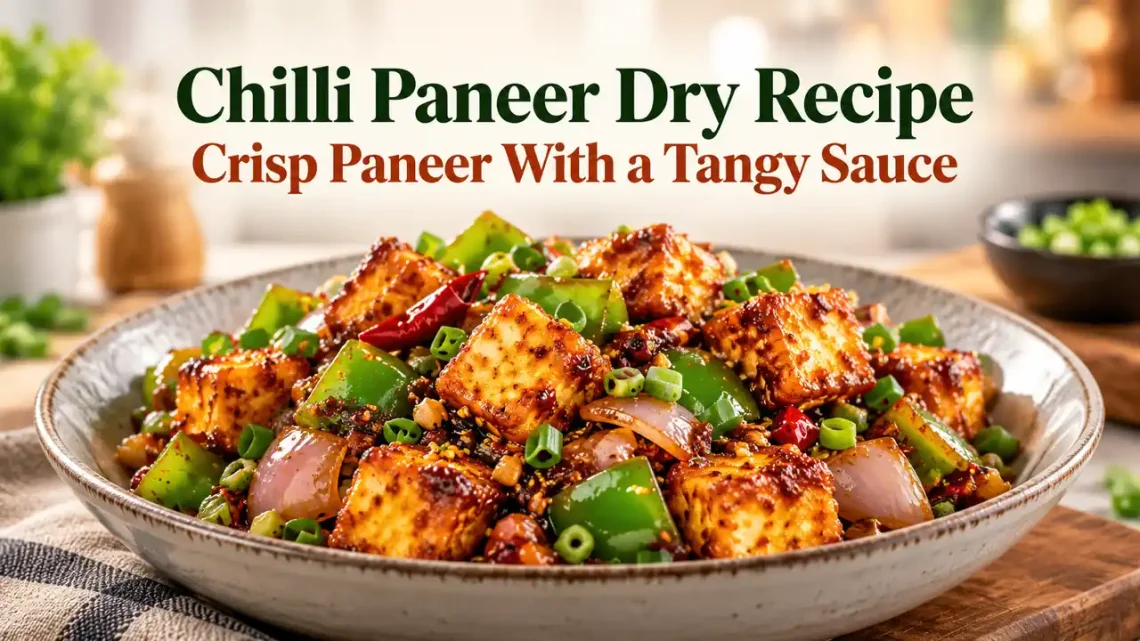
Chilli paneer dry combines lightly battered paneer, crunchy onion and capsicum, and a glossy sauce with heat, sweetness, and tang. The aim is a thin coating that clings to the cubes rather than a pool of gravy. Serve it promptly so the contrast between the crisp exterior and soft paneer is still noticeable.
This version uses a measured paneer quantity, separates the cornflour used for dusting from the batter and slurry, and keeps extra chilli optional. Prepare the vegetables and sauces before frying. Once the paneer is ready, the final stir-fry moves quickly.
What Makes This the Dry Version?
“Dry” describes the amount and consistency of sauce, not an absence of moisture. There should be enough sauce to season the vegetables and paneer without soaking the coating. The dish is an Indo-Chinese preparation, with paneer taking the place of meat in a savory, tangy stir-fry. It works as an appetizer or as part of a meal with rice or noodles. Paneer is a firm, fresh cheese. Do not substitute loose, spoonable cottage cheese: it will not hold its shape through coating and frying.
Recipe at a Glance
Plan to serve the dish as soon as the final tossing is complete. Timings depend on your pan, stove, and batch size.
| Detail | Estimate |
| Paneer quantity | 250 g |
| Yield | 3–4 appetizer servings |
| Preparation | About 20 minutes |
| Cooking | About 15–20 minutes |
| Total time | About 35–40 minutes |
| Main allergens | Milk, wheat, and soy; check sauce labels |
| Equipment | Bowls, heavy frying pan, wok or skillet, slotted spoon, oil thermometer |
Have everything chopped and measured before frying; the final tossing stage takes only a few minutes.
Ingredients
Measure everything before heating the oil. Here, cornflour means cornstarch, the fine white thickener—not yellow maize flour.
Paneer and Dusting
- 250 g paneer, cut into approximately 2 cm cubes.
- 1 tablespoon cornflour, for dusting.
Batter
- 3 tablespoons cornflour.
- 2 tablespoons plain or all-purpose flour.
- ½ teaspoon ginger-garlic paste.
- ¼ teaspoon Kashmiri chilli powder, optional.
- ¼ teaspoon ground black pepper.
- ⅛ teaspoon fine salt.
- Approximately 45–65 ml cold water, added gradually.
- Neutral oil suitable for deep-frying, enough for your pan.
Baking powder is omitted from this version. The priority is a light coating, not a thick, puffed shell.
Vegetables and Sauce
- 1 tablespoon neutral oil.
- 1 teaspoon finely chopped ginger.
- 2 teaspoons finely chopped garlic.
- 1 small green chilli, sliced, optional.
- ½ cup onion petals or roughly diced onion.
- ¾ cup diced capsicum or bell pepper.
- 2 tablespoons chopped spring onion whites.
- 1 tablespoon soy sauce.
- 1 tablespoon tomato ketchup.
- 1 teaspoon red chilli sauce, then adjust if needed.
- 2 teaspoons rice vinegar or white vinegar.
- 2 tablespoons water.
- ¼ teaspoon ground black pepper.
- Additional salt only after tasting.
Optional Slurry and Garnish
- ½ teaspoon cornflour mixed with 1 tablespoon cold water.
- 2 tablespoons chopped spring onion greens.
- Chopped coriander, optional.
Sauce brands vary in salt, sweetness, and heat. Begin with the listed quantities rather than adding extra chilli paste automatically.
How to Make Chilli Paneer Dry
Keep the frying and stir-frying stages separate. Combining everything too early is an easy way to lose the coating’s crispness.
1. Prepare the Paneer
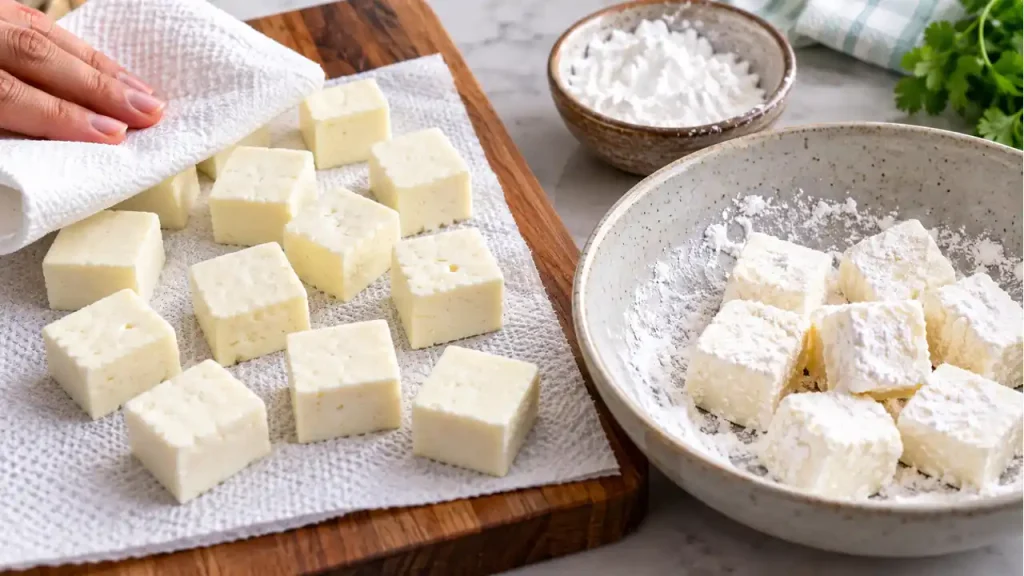
Pat the paneer dry and cut it into evenly sized cubes. Follow package guidance if your paneer needs thawing or softening first. If you soak firm paneer to soften it, drain and dry it thoroughly before coating. Water left on the surface makes the batter harder to control. Toss the cubes gently with the tablespoon of cornflour. Aim for a light dusting rather than thick white patches.
2. Mix the Sauce
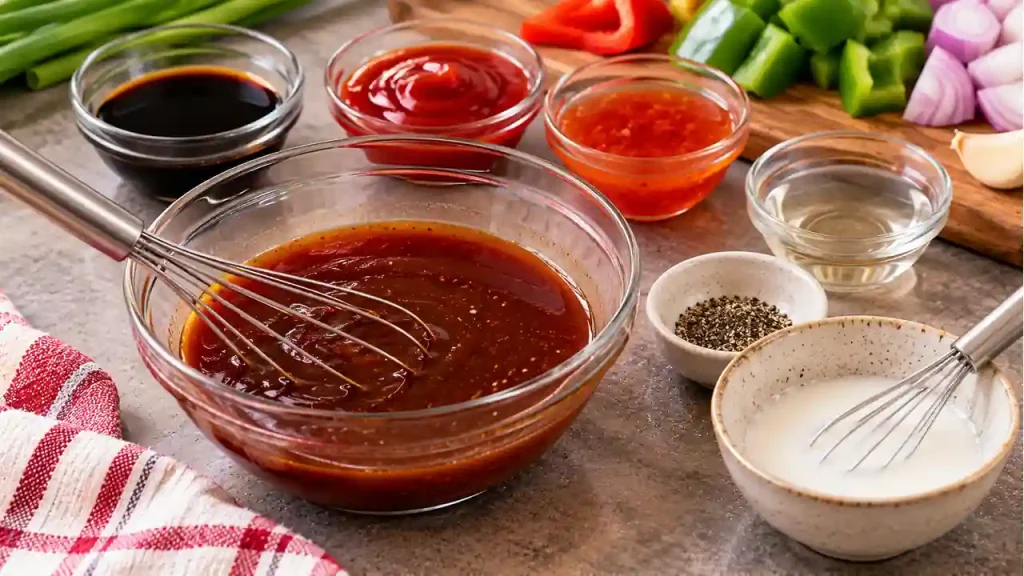
Combine the soy sauce, ketchup, chilli sauce, vinegar, water, and pepper in a small bowl. Keep the slurry separate and stir it again immediately before use, because the starch settles. Preparing the sauce now prevents the garlic from burning while you search for bottles later. Do not add extra salt yet.
3. Make a Clinging Batter
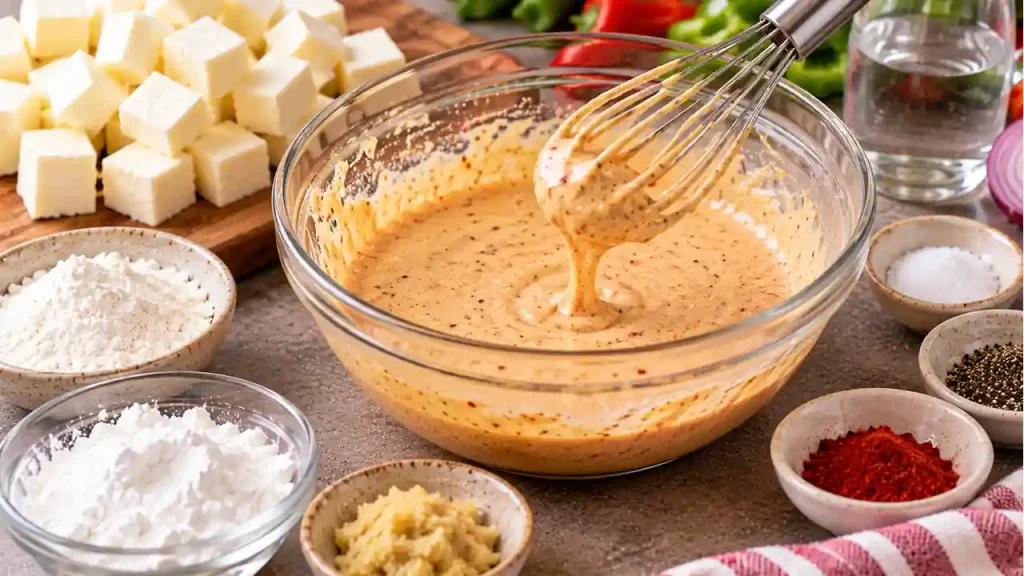
Mix the cornflour, plain flour, ginger-garlic paste, optional chilli powder, pepper, and salt. Add 45 ml water gradually, whisking until smooth. Add the remaining water only as needed. The batter should coat a cube lightly and drip slowly, rather than run off like milk. If too thin, add a little cornflour. If too thick, add water a teaspoon at a time.
4. Heat the Oil Carefully
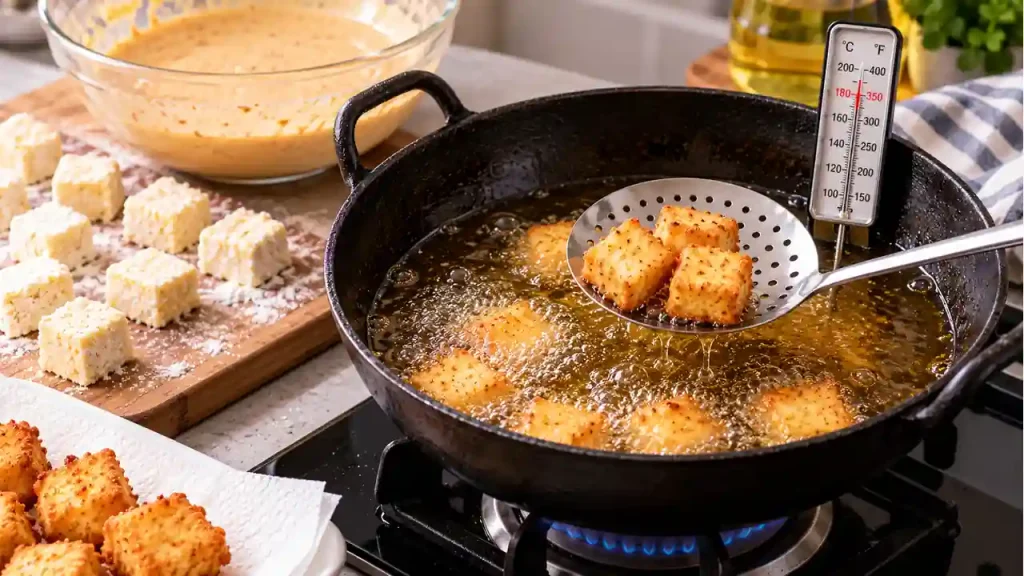
Use a stable, heavy pan with ample space above the oil. Heat to approximately 175°C/350°F, using an oil-safe thermometer. Keep tools and the surrounding work area dry. USDA’s deep-frying guidance warns against allowing water into hot frying fat. Do not leave heating oil unattended. If it begins smoking, stop heating and let it cool before reassessing.
5. Fry in Small Batches

Dip several paneer cubes into the batter and lift them out individually, letting excess coating drip away. Lower them carefully into the oil, away from you. Leave space between pieces. Fry until the coating is set and lightly golden, approximately 2–3 minutes, turning gently as needed. Drain with a slotted spoon onto a rack or kitchen paper. Avoid prolonged frying, which can make paneer firm or rubbery.
6. Stir-Fry the Vegetables
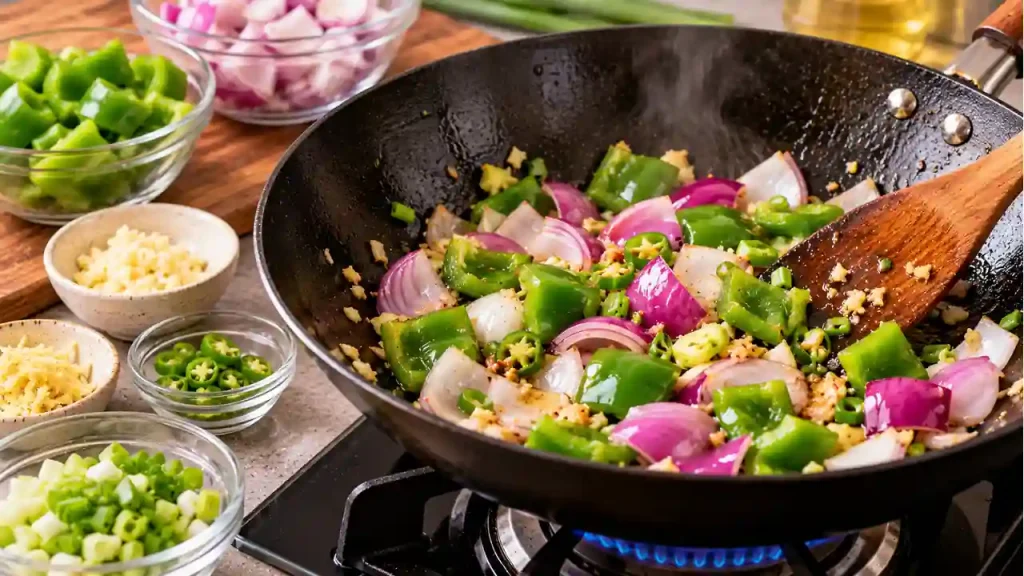
For chilli paneer dry, keep the vegetables slightly crisp. Heat the tablespoon of oil in a wide wok or skillet over medium-high heat. Add ginger, garlic, and optional green chilli. Stir briefly until fragrant, without browning the garlic heavily. Add spring onion whites, onion, and capsicum. Stir-fry for approximately 1–2 minutes, adjusting the heat to your pan. The vegetables should retain some bite.
7. Reduce the Sauce, Then Toss
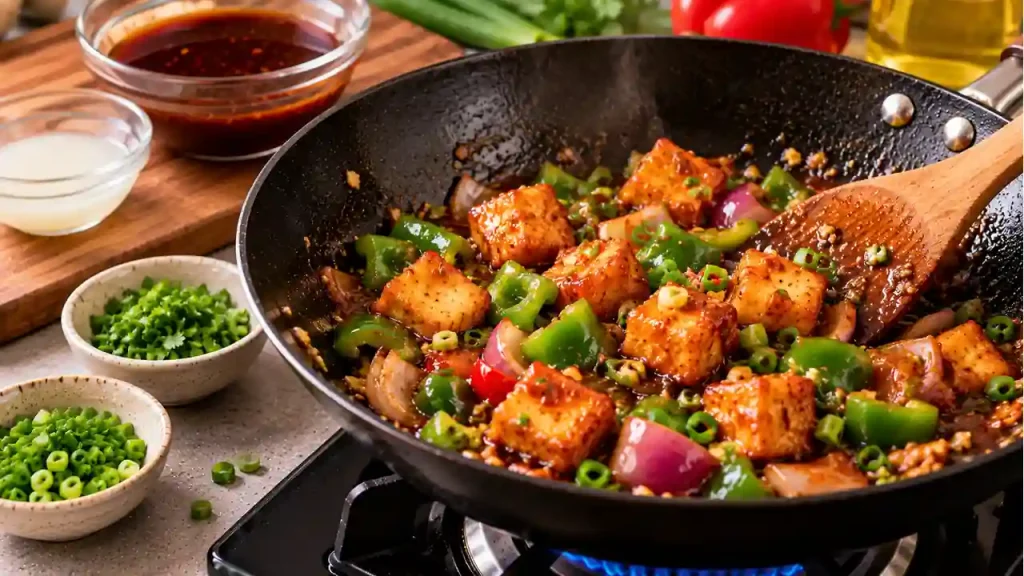
Add the prepared sauce and let it bubble briefly. If it already coats a spoon lightly, you may not need slurry. Otherwise, stir the slurry and add a little at a time. Let the sauce bubble until glossy before deciding whether more is needed. Taste and adjust cautiously. Add the fried paneer, toss gently for a few seconds, and switch off the heat. Finish with spring onion greens and optional coriander.
How to Keep the Coating Crisp
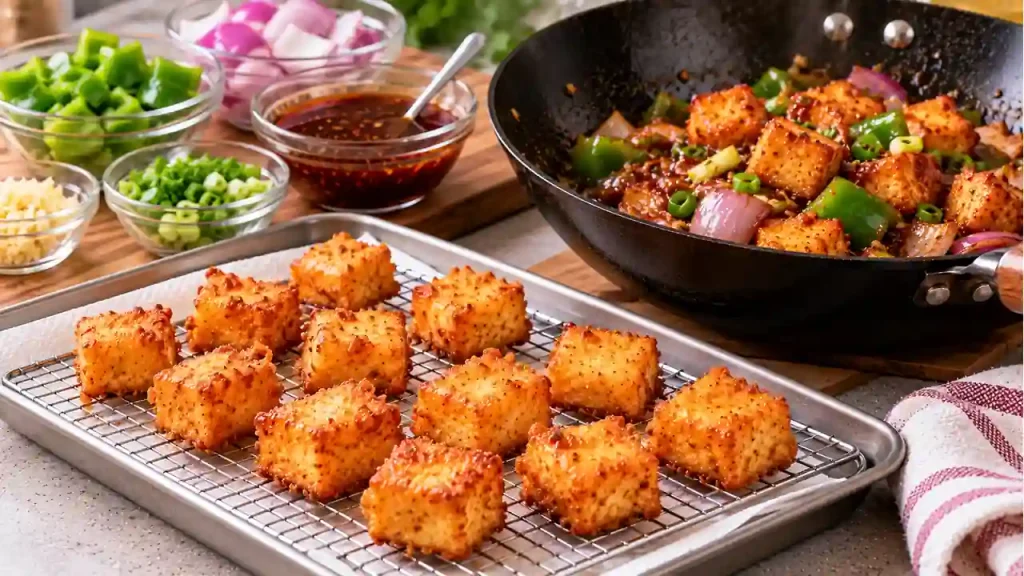
Chilli paneer dry is best assembled close to serving. Even a well-fried coating softens after prolonged contact with sauce. Drain fried pieces in a single layer and avoid covering them while hot. Trapped steam encourages softening. Use a wide pan for the final toss, and reduce the sauce before adding paneer. Do not keep cooking the cubes in liquid while waiting for it to thicken. For guests, prepare chopped vegetables and measured sauces ahead, then complete frying and tossing near serving time.
Troubleshooting the Texture and Flavor
Make small adjustments rather than adding several ingredients at once. Sauce balance is easier to judge before the paneer goes in.
| Problem | What to check |
| Batter slides off | Paneer may be wet or batter too thin |
| Coating feels heavy | Batter may be too thick |
| Pieces brown immediately | Oil may be too hot |
| Paneer turns rubbery | Frying or final cooking may be too prolonged |
| Sauce pools underneath | Reduce it before adding paneer |
| Sauce becomes gluey | Too much slurry may have been added |
| Dish tastes overly salty | Bottled sauces may supply enough salt already |
A sticky finish needs less correction than a watery one. Stop once the coating is glossy and lightly clinging.
Serving and Menu Ideas
Serve chilli paneer dry as an appetizer with small forks or alongside plain rice and a vegetable side. Noodles are another option. For a different paneer preparation on another day, paneer fried rice uses similar aromatics in a rice-based dish. You do not need to combine both paneer dishes in one meal. If planning a snack selection, potato-cheese bread pakoras offer a different coating and filling. Keep quantities manageable so each fried item can be served freshly cooked. A chilled ice cream custard can follow a shared meal if you want dessert. Prepare cold dishes ahead so they do not compete with the last-minute stir-fry.
Can You Shallow-Fry Instead?
You can try shallow-frying, turning the coated cubes carefully once each side sets. The crust and browning will differ from deep-frying. An air fryer or oven needs separately tested settings and handling instructions. Do not assume the frying time transfers directly to another appliance. For substitutions, tofu changes both texture and allergens. Check sauce labels before describing any version as gluten-free or vegan.
Storage and Reheating
Refrigerate leftovers promptly in shallow containers. FoodSafety.gov’s leftover guidance recommends refrigeration within two hours, or one hour above 32°C/90°F, and reheating to 74°C/165°F. Use refrigerated leftovers within 3–4 days. Texture will be best sooner; reheating cannot recreate a freshly fried coating reliably. Reheat only the portion you need, checking that it is hot throughout. Expect softer vegetables and firmer paneer after reheating.
Final Thoughts
Chilli paneer dry depends on controlled moisture, brief frying, and a sauce that thickens before the paneer enters the pan. Prepare ingredients first, taste bottled sauces before adding salt, and toss only when ready to serve. Those checks give you a clearer route to a crisp coating, tender center, and vegetables that still have some bite.



Leave a Reply