

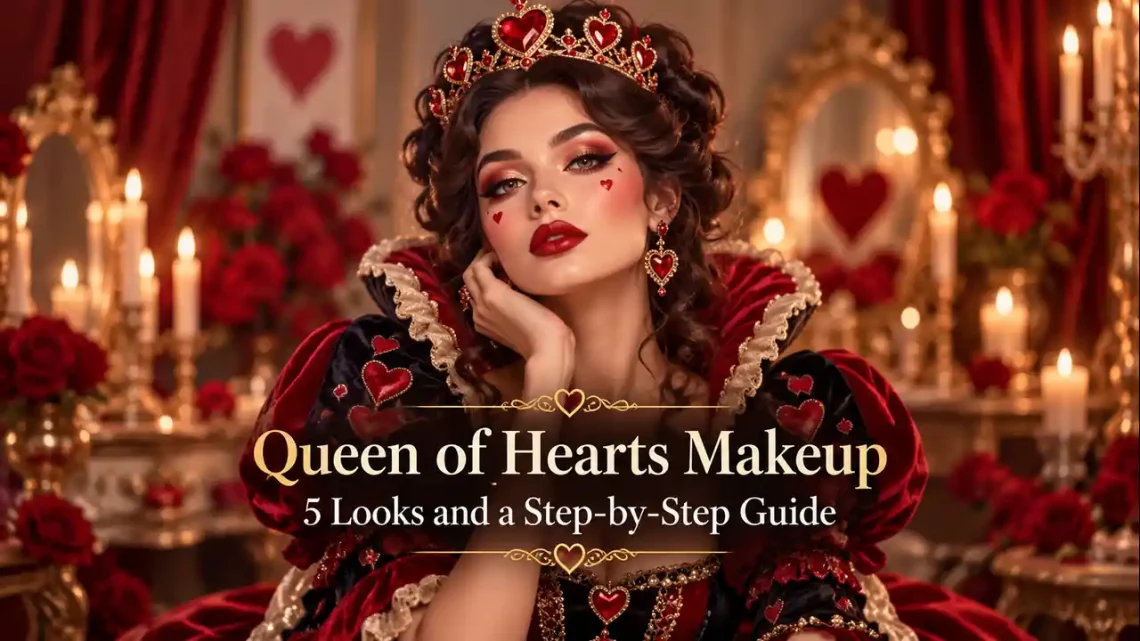
A red lip, a sharp black wing, and one small heart can make a costume feel complete. Queen of Hearts makeup can also become a much bigger project, with blue eyeshadow, graphic face painting, or dramatic burgundy lips. This guide gives you five distinct directions, a reusable application sequence, and practical ways to draw the heart details. Choose the version you enjoy, then adapt the colours and coverage to your skin and skill level.
The Quick Answer: For a simple look, use your usual base if wanted, black eyeliner, red lipstick, and a small heart on the cheek. Add a crown or playing-card accessory. For more drama, choose blue shadow, burgundy shading, a graphic heart frame, or metallic accents. Use products intended for each application area and follow their directions.
Choose Your Queen of Hearts Makeup Style
| Look | Main colours | Defining detail | Detail level |
| Simple card queen | Red and black | One cheek heart | Beginner |
| Film-inspired queen | Blue, red, and black | Blue lids and a small heart lip | Intermediate |
| Gothic queen | Burgundy and black | Smoky shading and dark lip edges | Intermediate |
| Graphic heart frame | Red and black | A large heart outline around the face | Advanced |
| Metallic royal queen | Red, gold, and black | Gold accents and an abstract heart | Intermediate |
The blue-eye variation takes inspiration from the Red Queen in Tim Burton’s 2010 Alice in Wonderland. It is a film-inspired interpretation rather than a single design that every version needs to follow.
What You Need
Gather what suits your chosen look:
- Moisturizer and your usual base products, if you use them.
- Concealer and setting powder, both optional.
- Black eyeliner and eyeshadow intended for eye use.
- Red lipstick and lip liner intended for the lips.
- Cosmetic face paint or pencils suitable for cheek designs.
- Small brushes, a blending brush, clean applicators, and a remover.
- Optional blue or burgundy eyeshadow, gold shimmer, blush, and a crown.
Check product directions before putting colours in a new area. A red lip liner does not automatically work as eyeliner. Craft paint and craft glitter do not belong in this kit.
Check Your Products Before Starting
For designs around the eyes, choose products intended for eye use, since a colour allowed elsewhere on the face may not be permitted in that area. Check labels especially carefully for red pigments, face paints, and sparkle products.
Wash your hands and use clean tools. Keep eye makeup for your own use rather than sharing it. Try unfamiliar products ahead of the event according to their directions. A small skin test cannot guarantee that your face or eyes will tolerate the product. Stop if something irritates you; seek medical advice if irritation persists.
How to Apply Queen of Hearts Makeup
Work through these steps, then add your chosen design details.
1. Prepare Your Skin
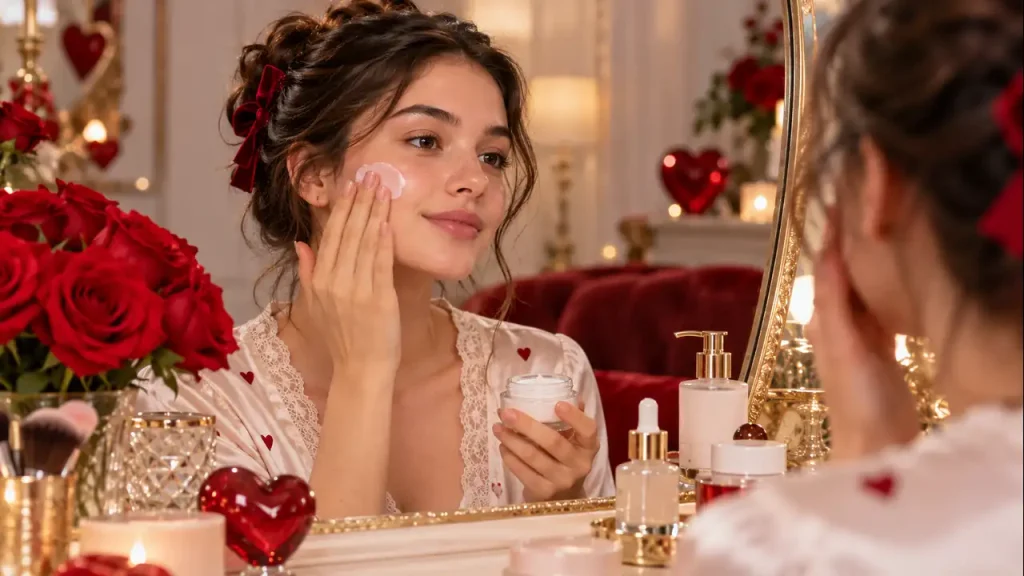
Cleanse gently and apply your usual moisturizer. Let it settle before adding makeup. Use a primer if it already works for your routine. Practise any large heart outline separately before committing to a finished base.
2. Build a Base You Like
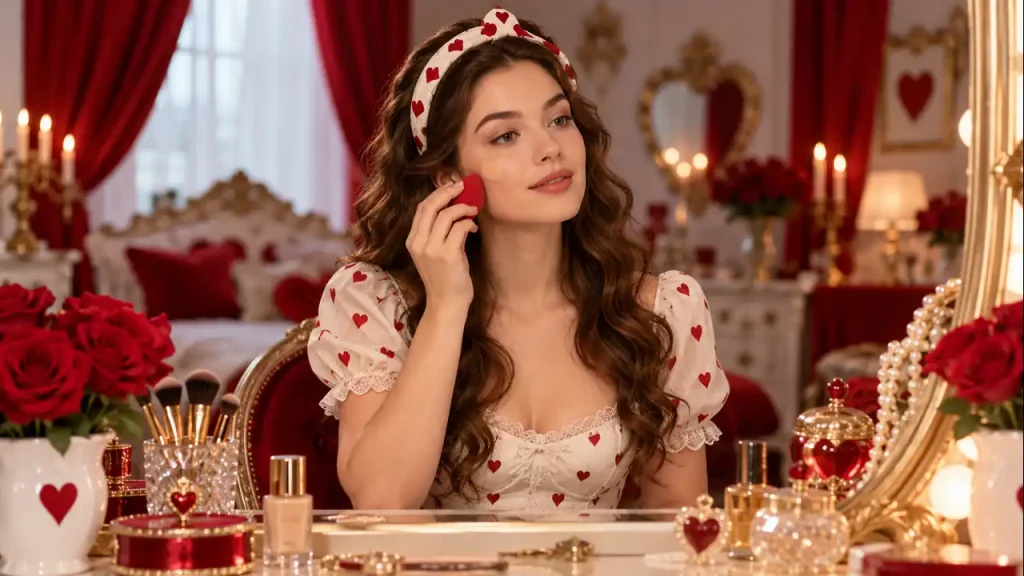
Your normal foundation shade works for every design here. A white theatrical base is optional for a particular costume interpretation; choose cosmetic products intended for that purpose. If you already use a cream formula, applying cream foundation in small amounts lets you build coverage gradually. Blend the edges and pause before adding more.
3. Add Concealer and Powder Selectively
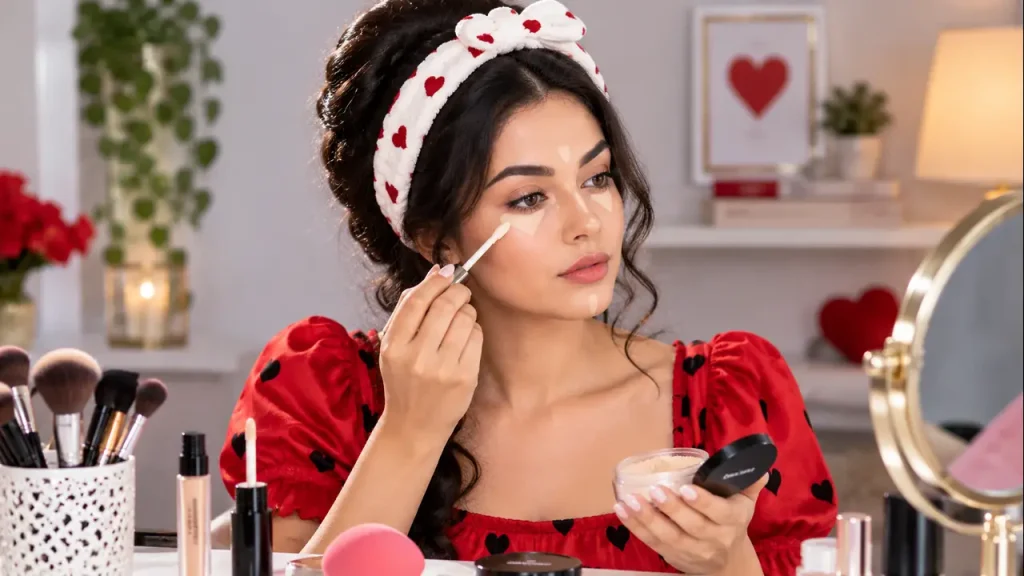
Use concealer where you want extra coverage rather than covering every visible feature. Small, targeted applications are among the useful concealer techniques for keeping the base manageable. Add a light amount of powder where needed. Avoid putting a thick layer everywhere automatically.
4. Shape the Brows and Eyes
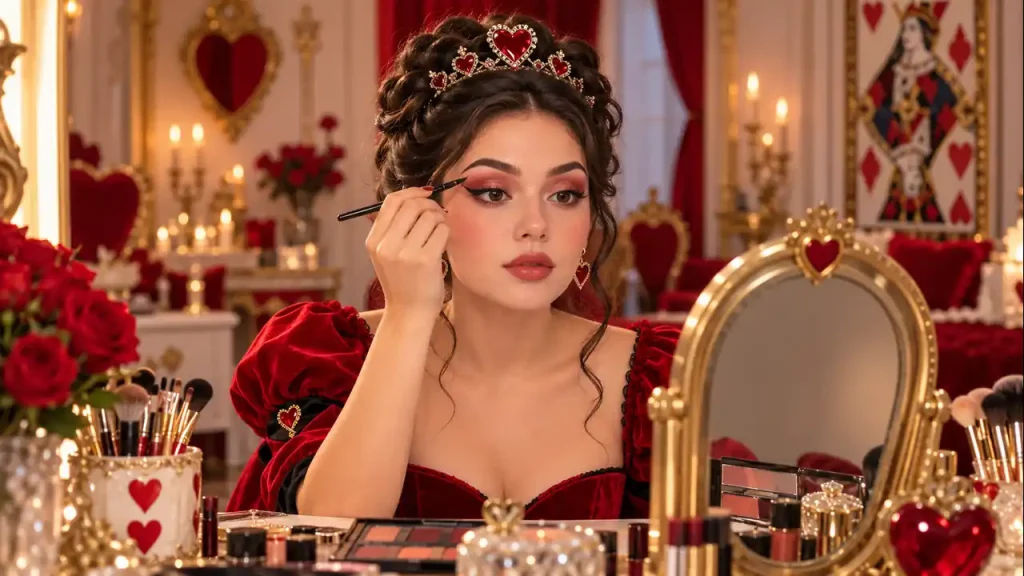
Fill your brows as much or as little as the design needs. There is no need to remove brow hair. Apply your chosen eyeshadow, blend its edge, then draw a black wing if wanted. Look straight ahead to check its visible shape. Short strokes are easier to adjust than one long sweep.
5. Add Dimension If Wanted
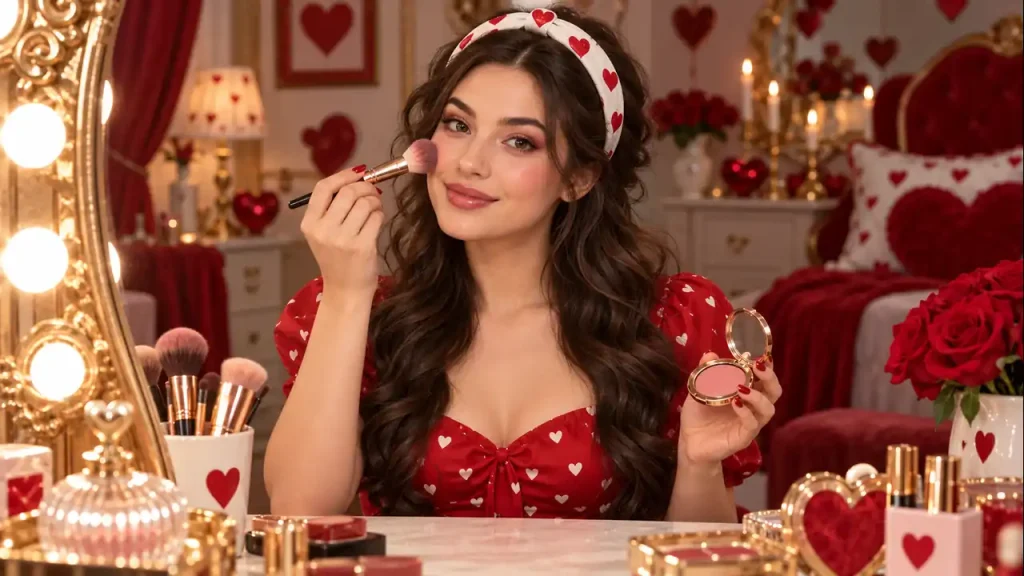
Blush can connect red lips with the rest of the face. Start lightly and build until you like the effect. For a more sculpted interpretation, use contouring techniques to add shadow beneath the cheekbones, then blend. This is a costume choice, not a requirement to change your facial shape.
6. Finish With Hearts, Lips, and Accessories
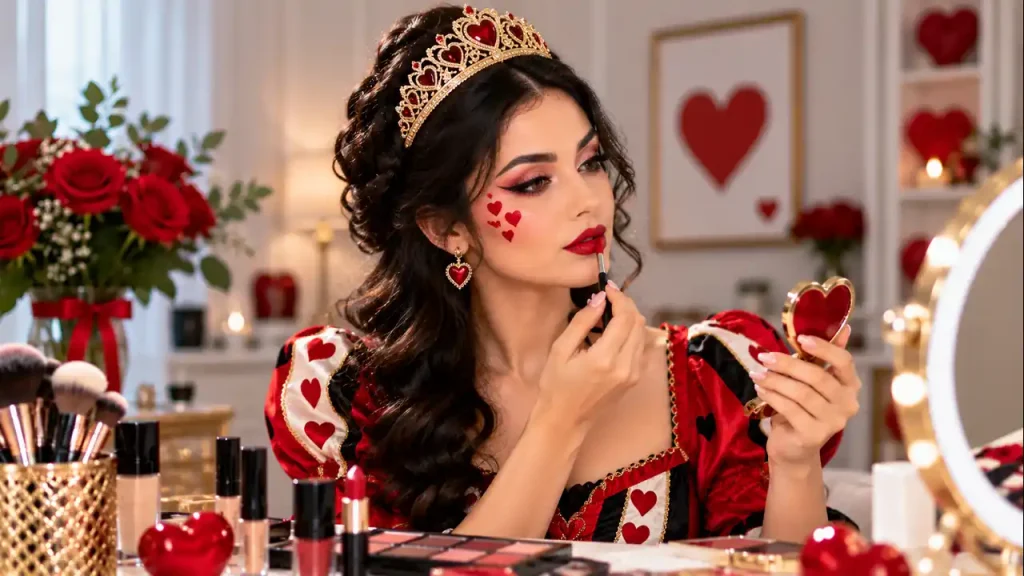
Add your heart details once you are happy with the base and eye placement. Keep a clean applicator and suitable remover nearby for corrections. Apply mascara according to its directions. False lashes are optional; check adhesive ingredients and instructions. Finish with a crown, headband, or playing-card accessory that leaves your face comfortable and visible.
How to Draw a Small Heart
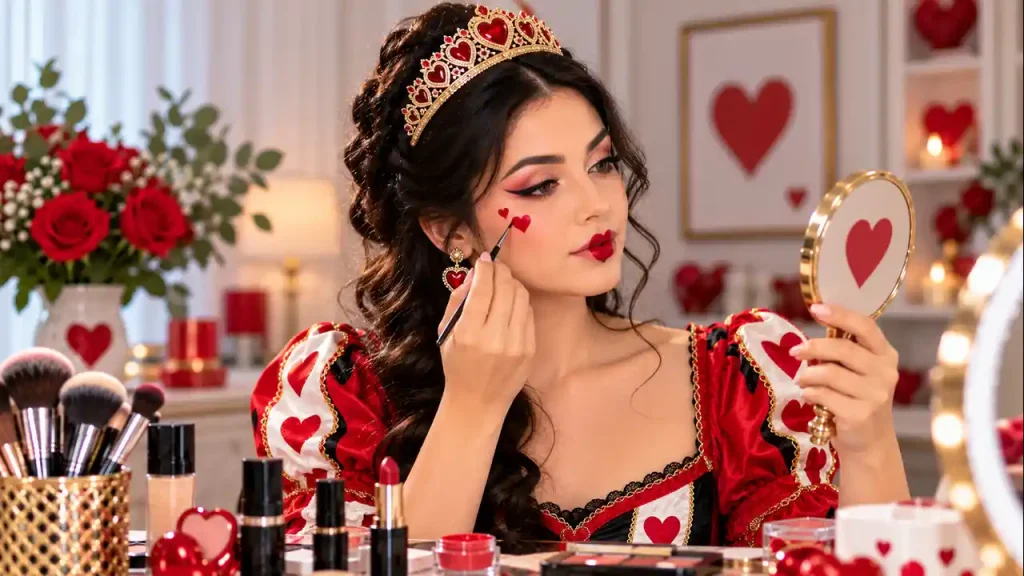
For beginner Queen of Hearts makeup, a cheek heart gives you a clear focal point without complicated face painting.
- With a fine brush or suitable cosmetic pencil, draw two rounded arches that meet in a shallow dip.
- Place a small point below the dip, centred between the arches.
- Connect each outer curve to the bottom point, then fill the outline.
Practice on paper first. Keep the design on the cheek, away from the eye. Start smaller than you think you need; you can enlarge it after checking your reflection.
How to Create Heart-Shaped Lips
Use lip products for this detail. Begin by marking the centre of the upper lip and exaggerating the two curves of the Cupid’s bow. Bring the outline toward a small central point on the lower lip, then fill the shape with red lipstick.
For a subtler version, emphasise the Cupid’s bow, a lip detail featured in makeup through the decades, while keeping the rest of your natural lip outline. You can leave the outer corners bare for a tiny theatrical heart. Check the shape with your mouth relaxed, since a pursed expression changes how it looks.
Five Queen of Hearts Makeup Designs to Try
Choose a look that suits your costume and skill level. Each design offers a different mood, from playful to dramatic.
1. Simple Card Queen
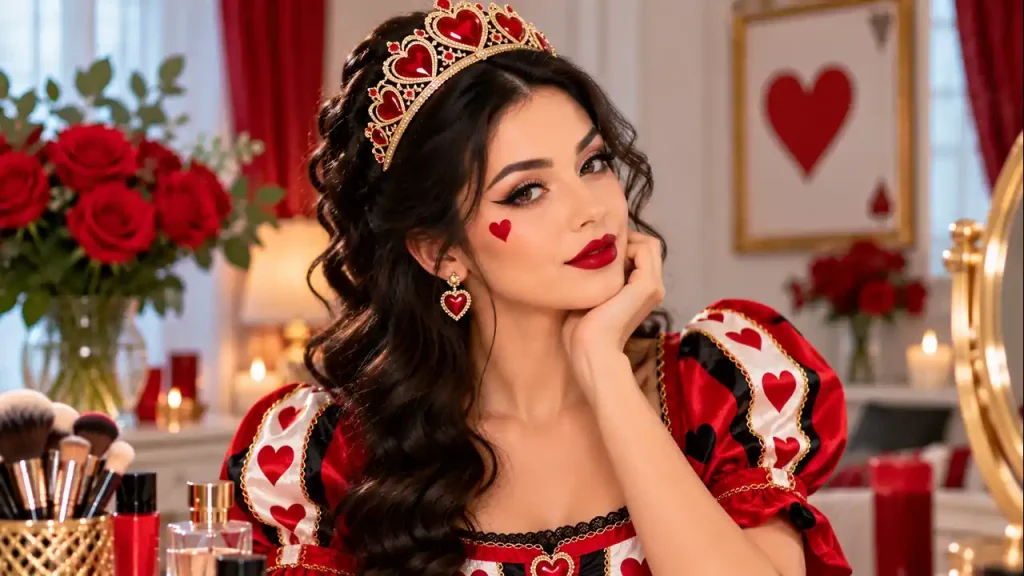
Keep your usual complexion, add a black wing, and wear a red lip. Place one red or black heart on the cheek. The useful design choice is restraint: let that single heart be visible instead of surrounding it with unrelated details. This version is an approachable starting point if you want recognizable costume makeup with fewer steps.
2. Film-Inspired Blue-Eye Queen
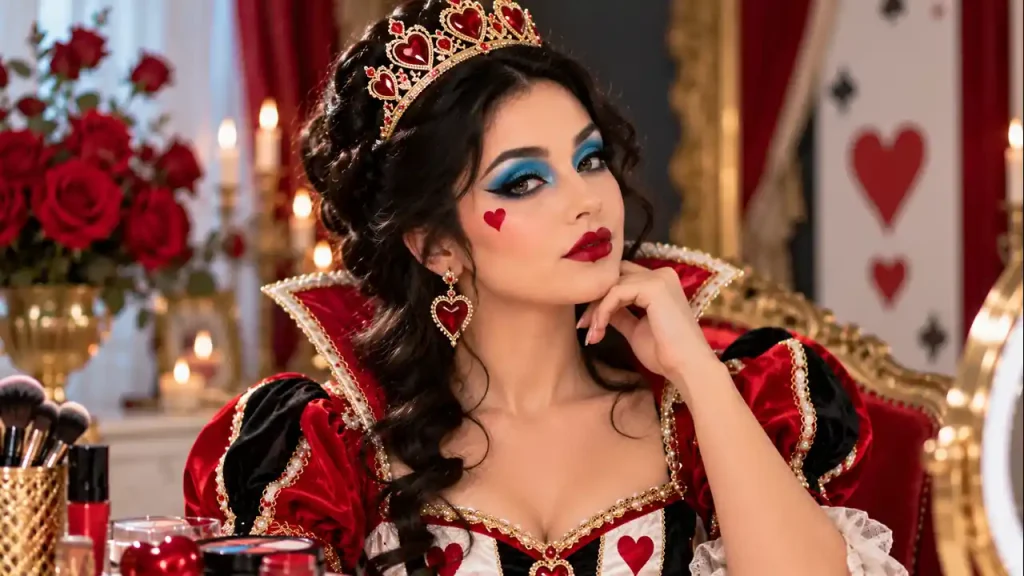
Use blue eyeshadow across the lid and, if wanted, extend the colour upward for a theatrical shape. Keep the edge deliberate and follow with black liner. Pair it with a small red heart lip and defined brows. Choose your usual base or a suitable theatrical base according to your reference. Check the full face before adding more blue; the eyes and lips should each remain readable.
3. Gothic Burgundy Queen
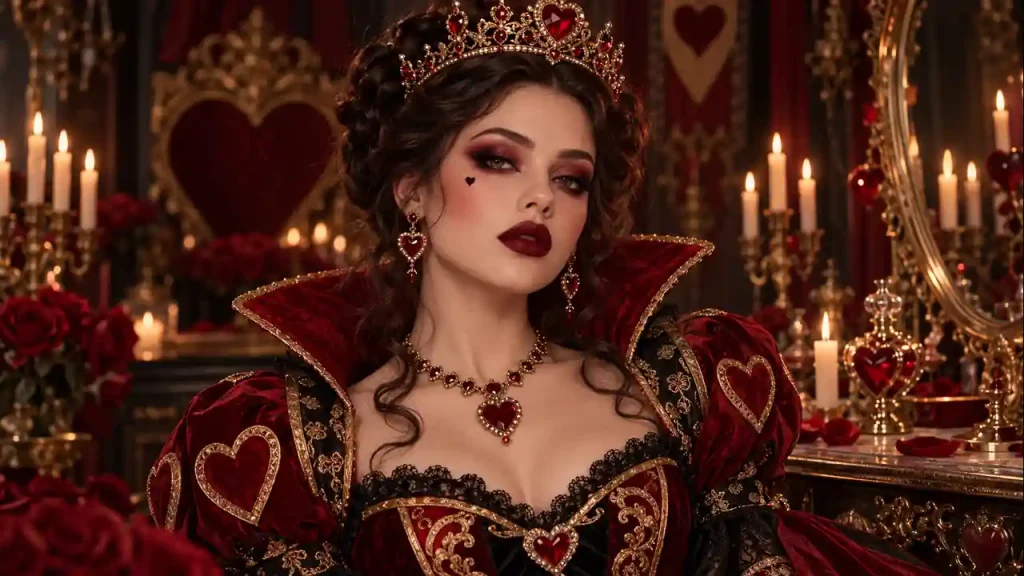
Blend burgundy eyeshadow with black at the outer corners, adding darkness gradually. Keep the centre of the lid burgundy so the colours remain distinct. Use a deep red lip with a darker, lip-safe liner blended into its edges. Contrasting lip liner also features in Chola makeup, a distinct style with its own cultural history. Add one black cheek heart and blend any optional contour carefully.
4. Graphic Heart Frame
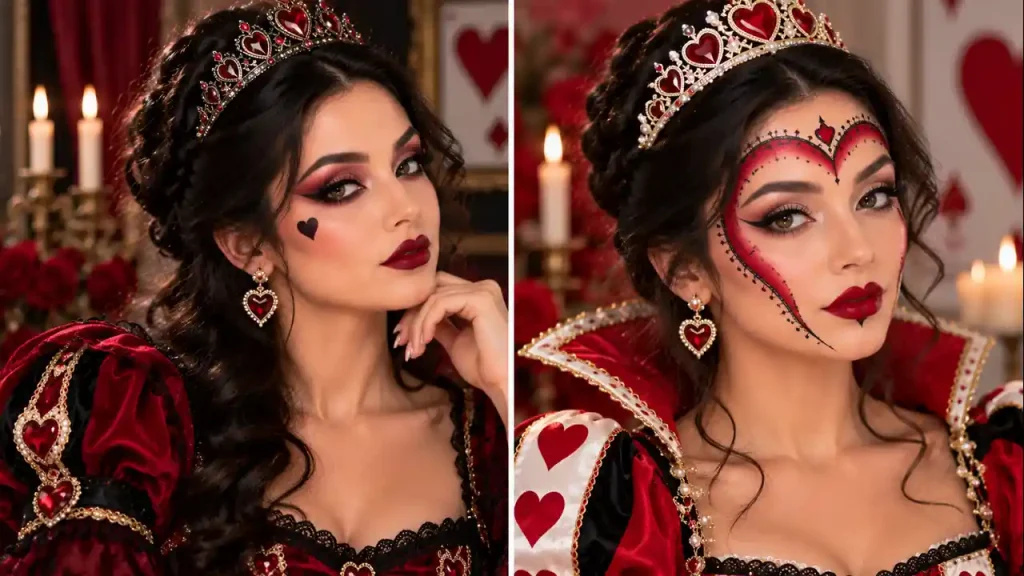
Plan a large heart outline across the forehead and down the outer cheeks, ending toward the chin. Mark light guide points with a cosmetic product suited to those areas before connecting them. Keep the eyes simpler so the frame remains the main feature. Add short decorative lines across parts of the outline for a stitched illustration effect, if desired. This design needs practice and a stable hand; test the placement before an event.
5. Metallic Royal Queen
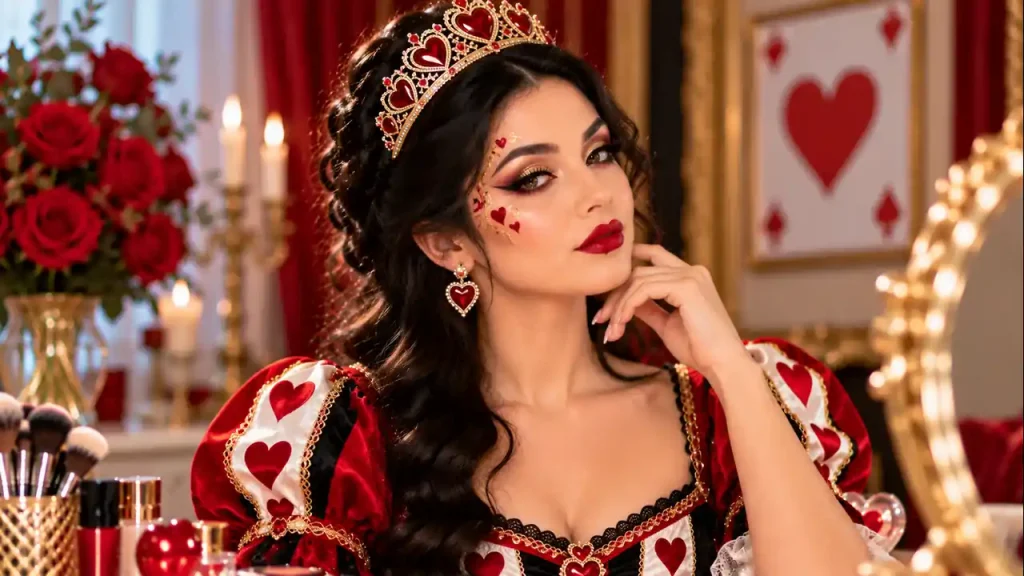
Combine red lips, black liner, and gold shimmer formulated for the area where you intend to apply it. Keep gold accents controlled, such as a small lid highlight and a cheek detail. Draw an abstract heart or a few curved lines beside a brow, keeping them away from the eye. You can skip loose glitter entirely.
Queen of Hearts Makeup Problems and Fixes
- The heart looks uneven: correct one edge with a clean applicator instead of repeatedly widening both sides.
- The base looks heavy: pause before adding powder; use less product in your next practice.
- The colours look crowded: choose one main feature and simplify the surrounding details.
- The lip shape changes: check it with your mouth relaxed.
- A product irritates: remove it and stop using it rather than covering the reaction.
Remove the Look Gently
Follow the removal instructions for your makeup and any adhesive. Remove costume makeup before bed, treating the eye area gently. Use the specified remover, allow it to loosen the product, and avoid pulling off decorations. Finish with your normal gentle cleansing and moisturizer if tolerated. Keep removal supplies ready before the event, especially if the design includes a theatrical base.
Frequently Asked Questions
1. Can Queen of Hearts Makeup Work Without White Foundation?
Yes. Red, black, hearts, and accessories communicate the theme of your normal complexion. White face makeup is an optional costume effect.
2. Do I Need Glitter or False Lashes?
No. A wing, red lip, and cheek heart can complete the design. Add embellishments only if you enjoy them and have suitable products.
Final Thoughts
Queen of Hearts makeup gives you room to choose a simple card-inspired face, a theatrical film reference, or your own graphic interpretation. Pick one focal point, practise the heart shape, and use products suited to their application areas. You can enjoy the red-and-black theme at any skin tone or skill level. Finish with an accessory you like, and leave time to remove everything gently afterwards.


Leave a Reply